Last Updated on August 28, 2025 by Homegrown Florida
As we head into fall gardening, I had a choice to make: should I begin prepping garden beds or get my seeds started? In the end, prepping garden beds won. Seeds can wait a week, but the soil prep needs time for compost, amendments, and cover crops to break down. Doing this step now means healthier soil and stronger plants later.
Table of Contents
This post may contain affiliate links. Read full disclosure here.
Deciding Which Beds to Tackle
Not every bed needs clearing at the same time. My peanut bed, for example, is staying put because the plants are still finishing out. The tops are yellowing, but they’re not done yet, and I want to squeeze every bit of harvest from them. Same with my peppers. While they look a little rough from the summer heat, they’re still producing and will likely push through into fall.
Other beds, though, were ready to go. Sun hemp cover crops, spent watermelon vines, and some small patches of sweet potatoes had reached their end. Those were my focus. Prepping garden beds doesn’t always mean clearing everything at once. It’s about knowing which beds can keep working for you a little longer and which ones are ready for a reset.
Pulling vs. Chopping: Knowing the Difference
A big question I get is: when should you pull plants up by the root versus chopping them down? For me, it comes down to three rules:
- Weeds: If it’s a weed, it gets pulled. No exceptions. I don’t want it competing or spreading.
- Disease: If a plant looks diseased—like my watermelon vines that may have had powdery mildew—I usually remove the whole thing to keep pathogens from lingering.
- Sunflowers: These get pulled because their roots release a natural chemical that suppresses seed germination nearby. Great for weed control, but not great when you want to replant right away.
Cover crops, on the other hand, almost always get chopped and dropped. Leaving their roots in the soil feeds the microbial life and improves structure. Sun hemp is a favorite of mine for this.
My Sunflower Experiment
One bed gave me a great test this summer. It had been overwhelmed with weeds after garlic season, so I planted sunflowers to see if they would crowd the weeds out. The result? It worked! That bed had dramatically fewer weeds compared to my others. But once the sunflowers finished, I pulled them up completely. I didn’t want that same chemical effect interfering with fall seedlings.
Chop and Drop With Hedge Trimmers
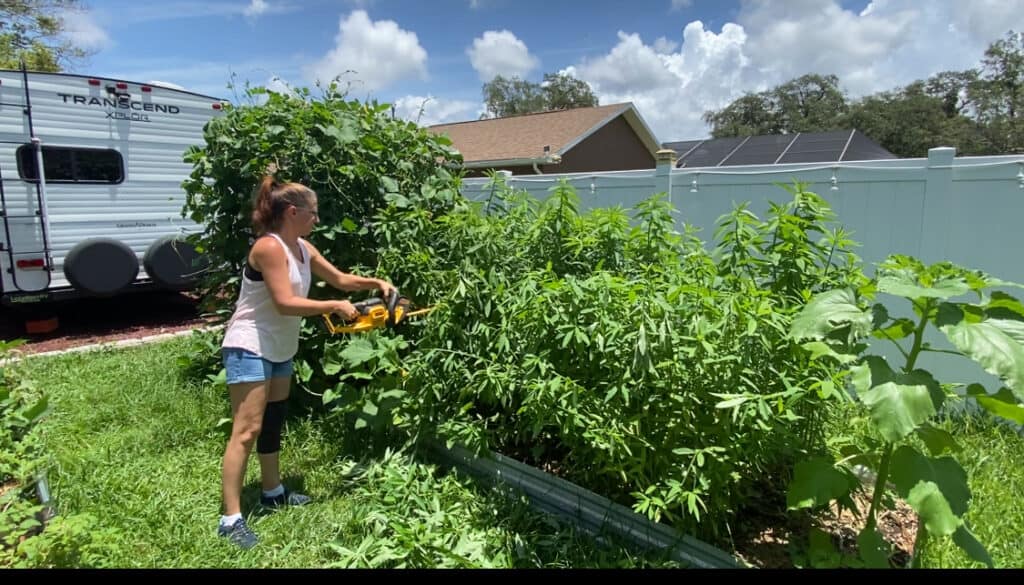
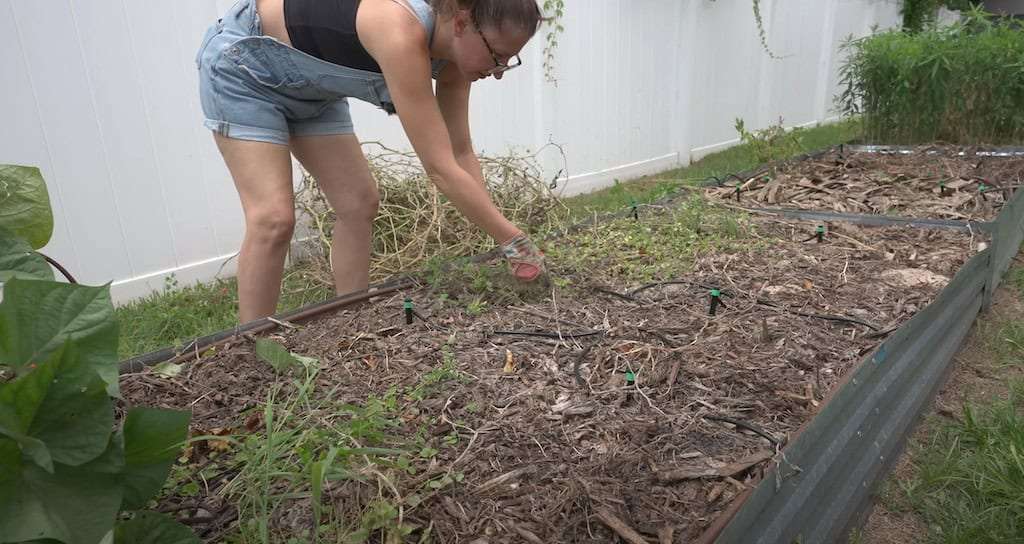
Cover crops can be overwhelming to deal with if you’ve only ever used hand pruners. My trick? A hedge trimmer. Instead of cutting at the base, I cut the sun hemp in 1-foot sections from top to bottom. Those small chunks break down much faster than whole stalks laid flat.
I don’t worry about getting every stem flush to the soil. I cut as low as I safely can without hitting irrigation lines, and then I let the cut pieces collapse into the bed. If they try to stand back up, a quick stomp or bend is enough to crimp them down. Within days they start drying out and becoming mulch.
Planting Into Cover Crops
Once cover crops are chopped, you’ve got two main options:
- Wait 2–4 weeks. This is ideal. Let the biomass break down and enrich the soil before you plant into it.
- Plant immediately. If you’re in a rush, pull out a clump of chopped sun hemp, tuck your transplant into that hole, and throw the pulled roots back on top. The clump acts like compost in place.
While I prefer waiting when I can, sometimes schedules and seasons push us to plant sooner. The key is balance. Leave most of the roots in place to keep feeding the soil.
Embracing a Messy Garden
I know social media gardens often look picture-perfect, but I’ve learned that a messy bed is often a healthy bed. Leaving chopped debris on top acts as a living mulch, slowly feeding the soil and protecting it from sun exposure. My beds aren’t “tidy” by Instagram standards, but the payoff is healthier soil and stronger harvests. Remember that it’s better for your garden to be productive, not pretty.
Soil Testing
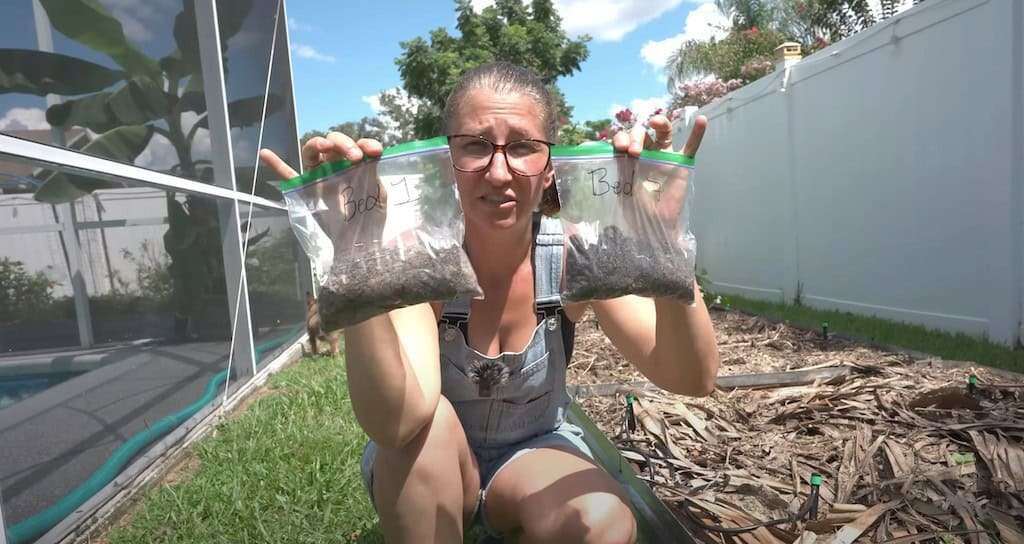
After clearing beds, the next step is soil testing. This season I pulled two separate samples: one from an older set of beds and another from newer ones. Even visually, I could tell the difference. The cover-cropped soil was darker and richer, while the other looked sandier.
Testing individually helps me see how each section of the garden is evolving over time. If you don’t want to test every bed, you can mix samples, but splitting them gives more accurate information. I sent mine off through the Florida extension office this time and can’t wait to see how the results compare to my past tests.
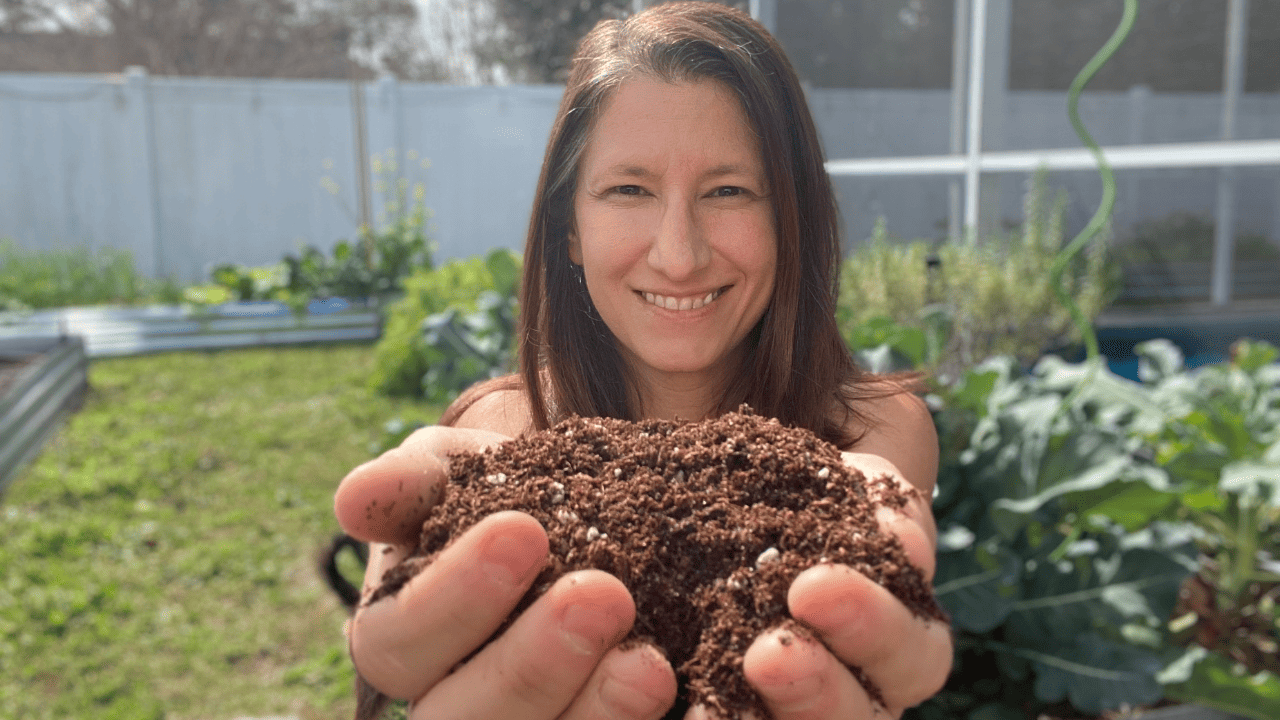
Adding Compost
With cover crops chopped down, the next layer is compost. I spread about 2 inches across the beds. Finished compost can be worked in, but I usually leave mine on top like mulch. Semi-finished compost is fine too as it breaks down in place without harming plants, feeding them slowly throughout the season.
If you don’t make your own, bagged compost like mushroom compost or Black Kow works too. Just make sure you use enough to enrich the bed but not so much that it smothers seedlings. If you want to learn more about making your own compost at home, check this out next.
Adding Amendments
Finally, I add nitrogen. In Florida, our heavy rains leach nitrogen right out of the soil. Even after a season of cover crops, my peppers turning yellow tell me the beds are hungry for it.
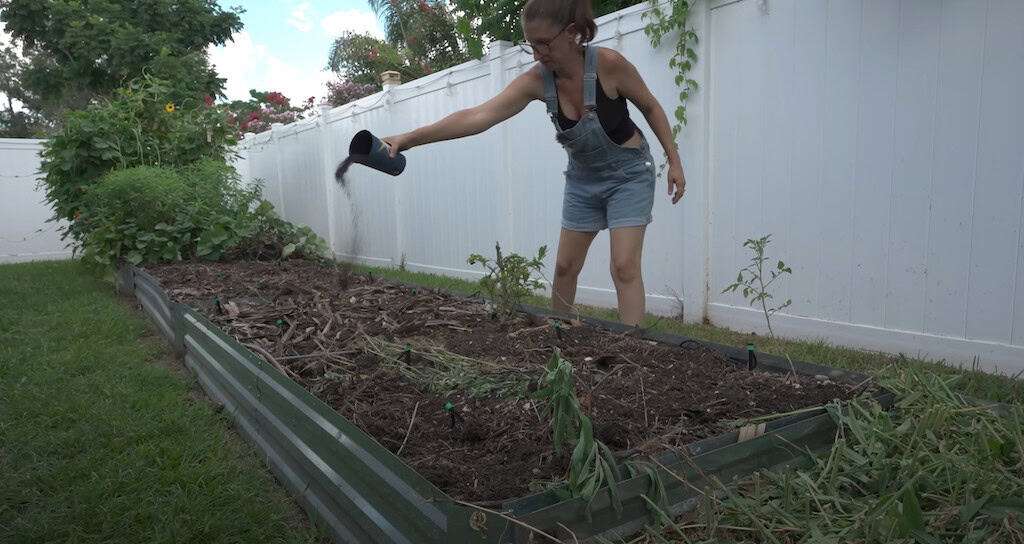
I use blood meal. Here’s how I calculate it:
- Each of my beds is 8×4 feet = 32 square feet.
- About 3 beds equals 100 square feet.
- The recommendation is 2–3 pounds per 100 square feet.
- 3 cups = 1 pound
So, that works out to about 2 cups per bed. I sprinkle it evenly, rake lightly if I need to, and let water carry it down. Blood meal is forgiving but don’t dump huge amounts. Try to stay within the suggested range so it won’t burn your plants.
Wrapping Up
That’s my process for prepping garden beds for fall: evaluate which beds are ready, chop or pull plants as needed, let cover crops feed the soil, test, compost, and amend. It’s not glamorous, and it gets messy, but each step builds healthier soil and bigger harvests.
If you want to dive deeper into what to plant this fall, check out my Homegrown Florida Gardening Guide on my website. It covers 30 vegetables, with Florida-specific tips for timing, varieties, and pest management. Happy gardening!