Last Updated on July 10, 2025 by Homegrown Florida
Easy crop rotation can feel complicated, especially if you’re gardening in a small space, but I promise it doesn’t have to be. Once I found a rhythm that fit my garden, it made a huge difference in how productive and healthy my plants became. I had fewer disease problems, better yields, and soil that actually improved year after year.
In this post, I’ll walk you through how I rotate my crops using a simple 4-season or 4-year plan. Whether you’re gardening in one raised bed or managing a whole backyard full of beds, this method works. I’ll share how I plan it out, which crops I group together, and how I use cover crops to rebuild the soil naturally, no guesswork required.
Let’s dig in.
Table of Contents
This post may contain affiliate links. Read full disclosure here.
Start with a Soil Test
Before I plant anything, I start each rotation with a soil test. I used to skip this step and rely on those little at-home kits, but I found out the hard way that they were way off. I was adding nutrients I didn’t need and starving my plants of the ones they actually did.
Now I do one proper soil test every year either through the extension office or from a company I trust and it tells me exactly what my soil is missing or has too much of. From there, I can add what’s needed to balance it out. It’s worth the effort. Trust me.
My Favorite Soil Amendments to Start a New Cycle
Once I have my soil test results, I focus on three main organic amendments that have worked well in my Florida garden:

- Blood meal for nitrogen
- Bone meal for phosphorus
- Kelp meal for potassium
These three cover the big nutrients most plants need. Then I add a layer of homemade compost followed by mulch to help with moisture and temperature regulation. That sets the bed up for the first group of crops in the easy crop rotation.
Easy Crop Rotation Schedule
Season 1 or Year 1: Fruiting Crops
This first round is for your heavy feeders. These are the crops that produce flowers and fruits like:

- Tomatoes
- Peppers
- Squash
- Cucumbers
- Potatoes (yes, I group these with tomatoes)
These plants use a lot of nutrients, especially phosphorus for flower and fruit development. They’ll start drawing down what you’ve added to the bed, and that’s exactly what we want. Let them use it up, and then move on.
If you’re rotating by season (in a single bed), this is your fall planting for Florida. If you have multiple beds and you’re rotating by year, this is Year 1.
Season 2 or Year 2: Leafy Greens
Next up are the greens like lettuce, kale, cabbage, broccoli, collards, and all their relatives.

These guys don’t need much to thrive. They mainly rely on nitrogen, and they don’t use a ton of it. That makes them perfect to follow fruiting crops, which already used up some of the bed’s fertility.
In cooler months, I grow traditional leafy greens. In summer, I switch to tropical heat-tolerant ones like Egyptian spinach or Ethiopian kale to keep that cycle going without fighting the weather.
Season 3 or Year 3: Root Crops
By now, you’ve already had fruiting plants pull out the big nutrients, and greens have chewed up most of the remaining nitrogen. That sets the bed up for root crops like:
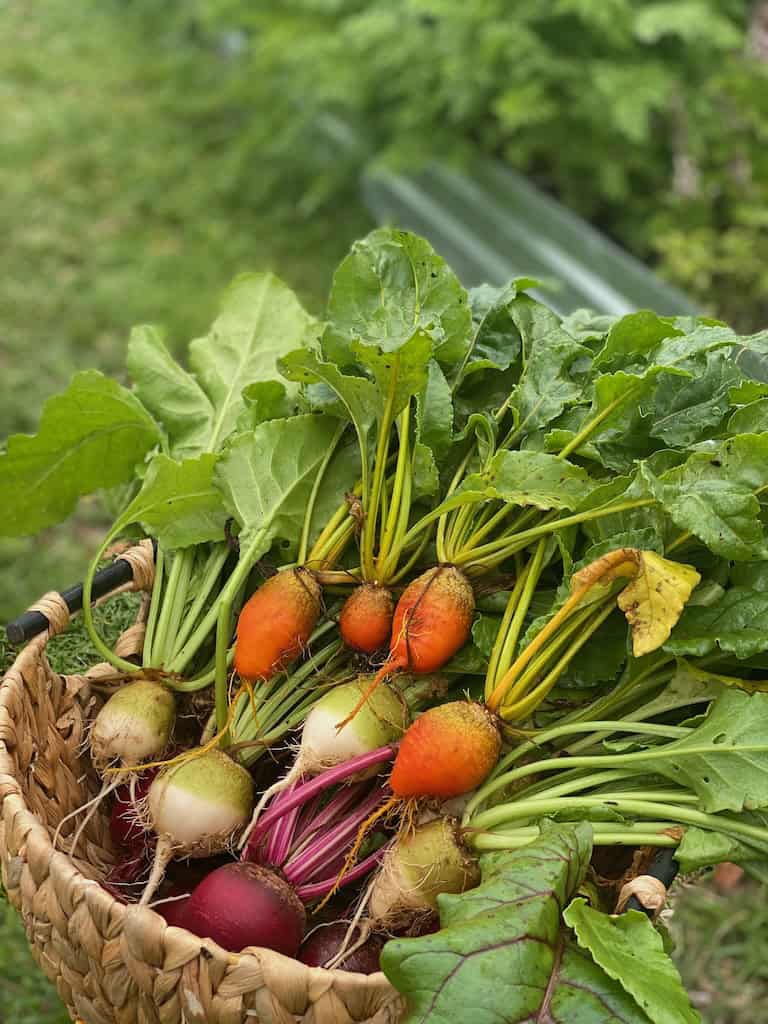
- Carrots
- Beets
- Radishes
- Onions
- Garlic
- Sweet potatoes
Roots don’t need a ton to thrive, and they actually help deplete what’s left in the soil. This is your “reset” step, where you let the bed wind down. I’ll sometimes add a little slow-release fertilizer, especially for longer-season crops like onions or sweet potatoes, but nothing heavy.
This is also a good time to plant different roots depending on the season. In summer, I’ll grow heat-friendly roots like jicama, taro, or sweet potatoes. In cooler months, I’ll switch back to carrots and garlic.
Season 4 or Year 4: Cover Crops and Soil Rebuilding
Now it’s time to give the bed a break. Not an empty bed, but a recovery season. I fill the space with cover crops that rebuild fertility and push out disease, like:
- Cowpeas, Black-eyed peas
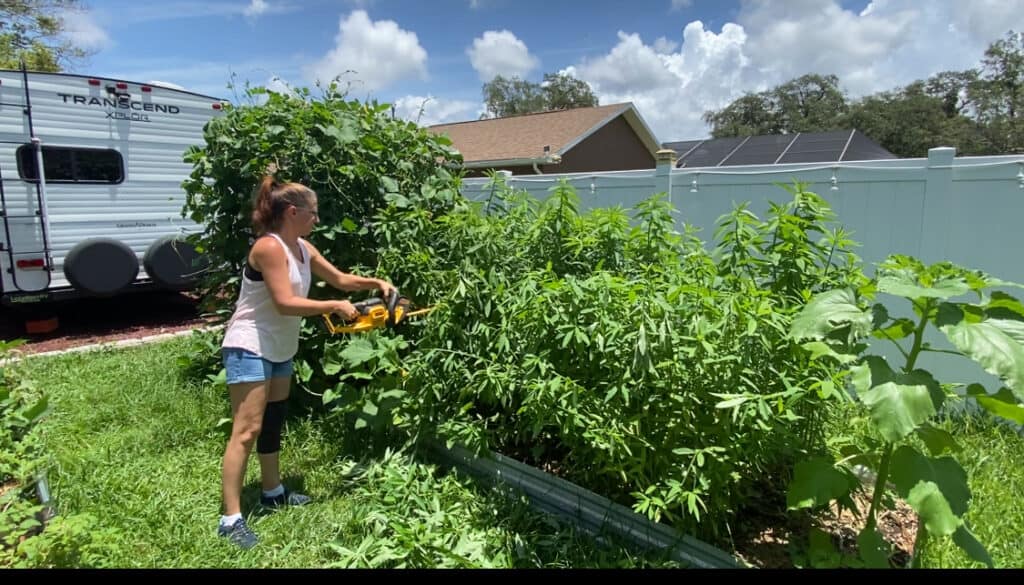
- Sun hemp (my favorite)
- Peas
- Green Beans
- Rye
- Oats
- Marigolds
Cover crops help smother weeds, break up soil, fix nitrogen naturally, and create mulch when you cut them down. If you’re doing this in a season, it’s your summer recovery in Florida. If it’s by year, then this bed gets to rest for the full year with these legumes growing, blooming, and being returned to the soil.
Sun hemp is especially powerful. It grows quickly, adds a ton of nitrogen, and doesn’t easily go to seed in most of Florida. I like to let it grow tall, then chop it down and leave it as mulch. Sometimes I even let it regrow a few times before planting the next cycle.
You can also use traditional edible legumes in this phase like Green Beans, Snow Peas, or Cowpeas. Just keep in mind that harvesting pods diverts some nutrients away from the soil. If you really want a soil-rebuilding year, cut the plant back into the bed before the flowering stage.
Then You Start Over
By the time your cover crops have done their job, the bed is ready to go back to the start: a fresh round of fruiting crops.
- Test the soil again
- Add compost, blood meal, bone meal, and kelp meal if needed
- Plant your tomatoes, peppers, cucumbers, etc.
And just keep repeating the cycle.
Why This Works (Even in Small Gardens)
This easy crop rotation method works because it gradually uses up nutrients and resets the soil. It also helps manage disease. Tomatoes and potatoes are notorious for spreading soil-borne issues, and giving your beds a break from those crops really helps.

Even in small gardens, this system is flexible. If you’ve only got one or two beds, rotate season by season. If you’ve got more, do it year by year. Just keep track of what went where and what’s coming next.
I like to use the worksheet in my free garden planner. But if you are a more digital planner, check out the layout section of Seedtime. And if you’re growing in containers? You can still use the same approach by just refreshing the soil at the start of each new cycle.
I used to think crop rotation didn’t matter in small gardens, but I was wrong. Once I started planning out my easy crop rotations and actually sticking to the schedule, I noticed better plant health, fewer pest problems, and more consistent yields.
If you’re looking for even more detailed guidance on growing veggies here in Florida—like when to start seeds, how to manage pests, and what varieties really thrive—don’t forget to check out my ebook! It’s got a chapter for every single vegetable and is packed with everything I’ve learned over the years gardening in Florida.
So if you’re tired of your tomatoes struggling in the same spot every year, or your soil just isn’t performing like it used to, try this. Give your beds a purpose each season, let your soil rest and rebuild, and you’ll see the payoff. Happy gardening!