Last Updated on January 19, 2024 by Homegrown Florida
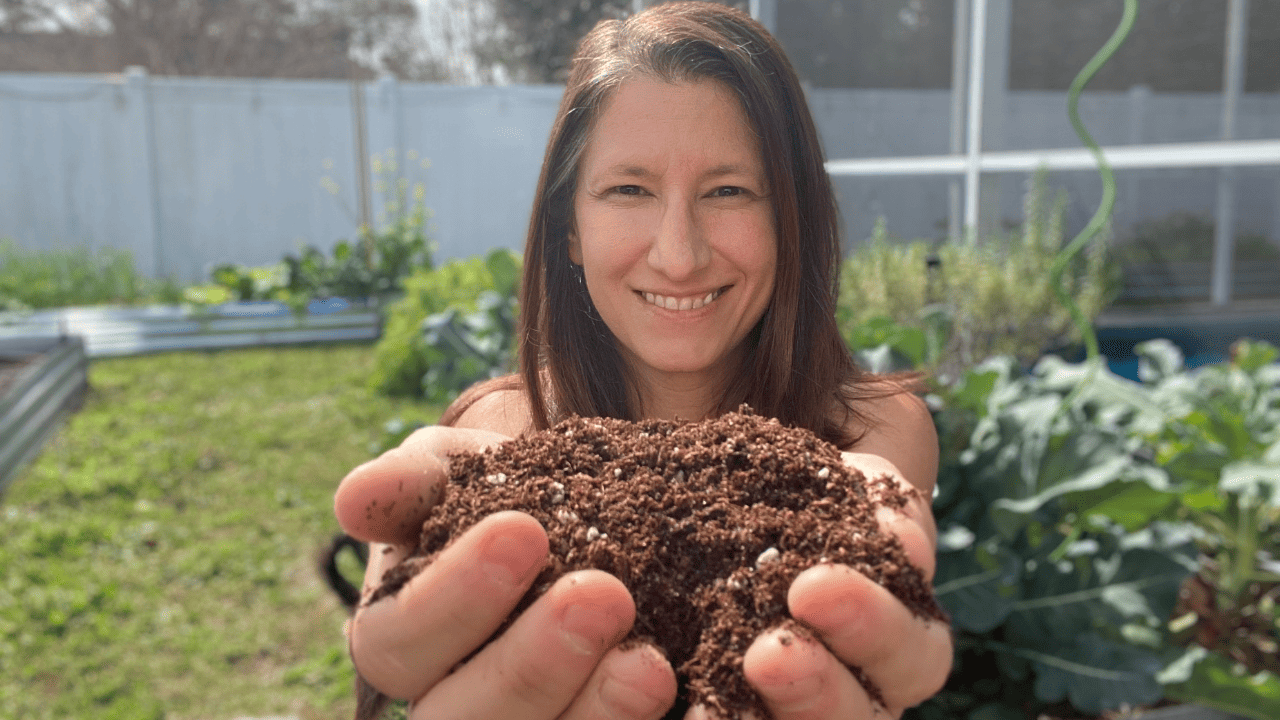
Today, we’re diving into the world of seed starting mix. I’m almost out, so I thought I’d share my three-ingredient seed starting mix with you. Chances are, you might already have two of these ingredients at home. Let’s get started!
The Cost-Effective Approach to Seed Starting Mix
I recently priced some seed starting mix, and it’s anywhere from seven to eight dollars a bag, typically containing eight quarts. We can make a much more economical seed starting mix at home. Cost is a significant factor; by adding a few elements, I can double the quantity without doubling the price. Plus, there’s the convenience factor. Having a brick always on hand in my shed means I can make seed starting mix whenever I need it, eliminating last-minute trips to the store. Now, let’s talk about my three ingredients, starting with the first one.
Ingredient 1: Coconut Core Brick
The first key ingredient is a block or brick of coconut coir, made from coconut husks. I use the Burpee brand, and it costs about six dollars for an eight-quart brick. But here’s the twist – I’ll show you how to double that quantity without doubling the cost.

Soaking the Coconut Core Brick
To start, place the coconut coir brick in a container (I prefer a five-gallon bucket) and add warm water. Fill it until the coconut coir starts to float, roughly four and a half quarts of water per brick. While it soaks, let’s discuss why I choose to make my own seed starting mix.
Ingredient 2: Compost – A Gardener’s Gold
The second ingredient is compost. In my case, I’m using bagged compost, but if you have your own compost, that’s even better. I’ll add four quarts of compost to my eight quarts of coconut coir, maintaining a two-to-one ratio.
Ingredient 3: Perlite for Drainage
The final ingredient is perlite, serving as a drainage component. If you don’t have perlite, especially in Florida, you can use sand from your yard. Mix in one part perlite (or sand) for every two parts coconut coir.

Mixing and Considerations
Blend the ingredients thoroughly, but here’s a disclaimer: if you use your own compost or yard sand, your mix won’t be sterile. This might matter if you’ve had issues with bugs or diseases in the past. Now, let’s put our seed starting mix into trays. It might be a bit wet if you, like me, overfilled the water. No worries – it’ll dry out over time. The moisture is actually beneficial for initial seed placement, reducing the need for frequent watering.
And there you have it! We’ve created a cost-effective, personalized seed starting mix. This recipe yields plenty, making it suitable for a productive start to the spring season.


