Last Updated on March 6, 2025 by Homegrown Florida
Seed starting is one of the most rewarding parts of gardening, but for beginners, it can feel overwhelming. There are so many decisions to make—should you direct seed or use trays? What soil should you use? How much water is too much? If you’re new to seed starting, don’t worry! This guide will walk you through everything you need to know, incorporating hands-on tips to ensure your seeds get off to a strong start.
This post may contain affiliate links. Read full disclosure here.
Table of Contents
Direct Seeding vs. Seed Trays: Which is Better?
There are two ways to start seeds: direct seeding and seeding in trays. Both methods have their advantages, and choosing the right one depends on the type of plant and your growing conditions.
Direct Seeding
Direct seeding means planting seeds directly into the garden bed where they will grow to maturity. It’s the easiest and most beginner-friendly method because it eliminates the need to transplant later. Most seeds can be planted this way, but some perform better than others.

Best Plants for Direct Seeding:
- Beans
- Peas
- Squash
- Cucumbers
- Corn
- Carrots
- Radishes
- Melons
While many gardeners successfully start squash and cucumbers in trays, they don’t always transplant well. If you do choose to start them in trays, plant extra seeds to account for potential losses.
How to Direct Seed:
- Prepare the soil – Loosen the soil so the roots can grow easily.
- Water before planting – This ensures the seeds are placed in a moist environment, which helps with germination.
- Plant at the right depth – A general rule of thumb is to plant seeds as deep as they are wide. For example, bean seeds, which are about ¾ inch in size, should be planted ¾ inch deep.
- Cover the seeds – Gently brush soil over the seeds without packing it down too much.
- Water again – Immediately after planting, water the area to help settle the seeds.
- Keep soil consistently moist – Water at least twice a day until seedlings emerge. Once they sprout, adjust to a regular watering schedule.
Using Seed Trays
Some plants benefit from starting in trays before being transplanted into the garden. This is especially useful if you have a short growing season and need a head start before outdoor conditions improve.

Best Plants for Starting in Trays:
- Tomatoes
- Peppers
- Eggplants
- Onions
These plants love being transplanted, making them perfect for tray starting.
How to Start Seeds in Trays:
- Choose the right tray – High-quality trays make a big difference. The Epic Gardening trays, for example, are durable and reusable, making them an excellent investment.
- Use a good seed-starting mix – Regular garden soil isn’t ideal for starting seeds. A light and fluffy seed-starting mix helps seedlings establish roots easily. Peat moss or coconut coir-based mixes work well.
- Moisten the soil first – Many seed-starting mixes arrive dry and need to be rehydrated. Add water to the mix before filling your trays to ensure even moisture.
- Fill the trays completely – Pack the soil gently but avoid compacting it too much.
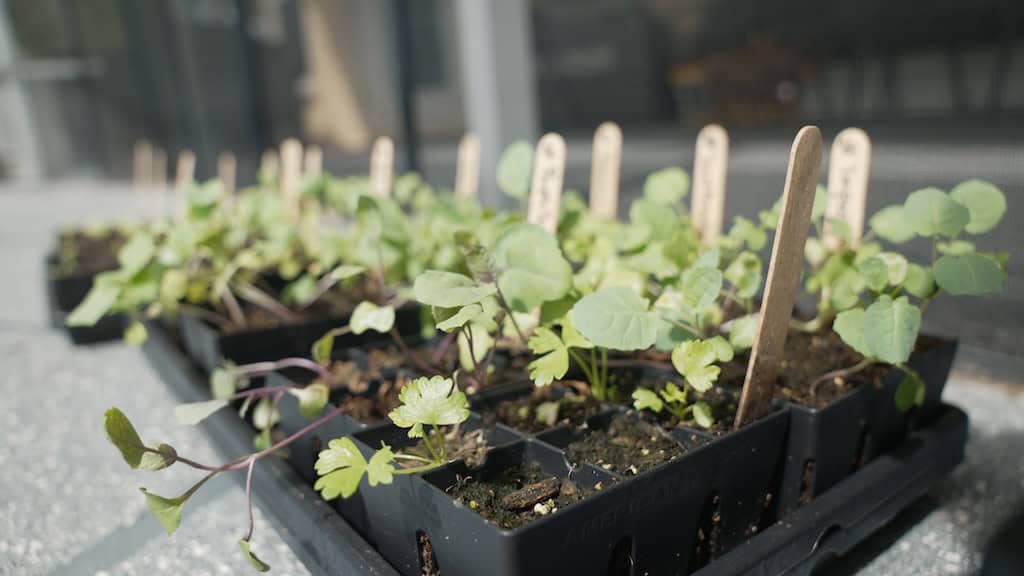
- Label everything – Write down the vegetable type, variety, and planting date on plant markers. This helps you track progress and ensures you remember what’s growing where.
- Plant at the right depth – Follow the same rule as direct seeding—bury seeds at a depth equal to their size. For tiny seeds like broccoli and cabbage, simply press them lightly into the soil.
- Water carefully – Water from the bottom by placing trays in a shallow container of water. This prevents disturbing seeds and reduces the risk of fungal diseases.
The Importance of Light
Light is one of the most critical factors in successful seed starting. If seedlings don’t receive enough light, they stretch and become weak and leggy.
Outdoor Light:
If you’re starting seeds outdoors, place them in full sun for at least 6-8 hours per day. In Florida, partial shade might be beneficial in summer to avoid scorching.
Indoor Light:
If you’re starting seeds indoors, use grow lights and position them very close to the seedlings—just 2-3 inches above. Move the lights higher as the plants grow.
Watering and Fertilizing Seedlings
Seedlings need consistent moisture but not too much water. Overwatering can lead to damping off, a fungal disease that kills young plants.
Best Watering Practices:
- Always bottom water to prevent fungal growth.
- Use a misting spray for delicate seedlings to avoid disturbing the soil.
- Keep the top layer of soil damp but not soggy.
Fertilizing Young Plants:
Once seedlings develop their first true leaves, they need nutrients. A diluted fish fertilizer like Alaska Fish Fertilizer or Neptune’s Harvest works well. Use half-strength fertilizer to avoid burning young plants.
Potting Up: When and How to Do It
Some seedlings outgrow their seed trays before they are ready for the garden. This is where potting up comes in.

Signs a Seedling Needs a Bigger Pot:
- Roots are growing out of the bottom of the tray.
- The plant has several sets of leaves but isn’t ready for the garden.
- The plant is top-heavy and tipping over.
How to Pot Up Seedlings:
- Prepare a larger pot – Fill it halfway with soil.
- Remove the seedling carefully – Gently push up from the bottom to avoid damaging the roots.
- Place the seedling in the new pot – Fill in with soil, keeping the plant at its original depth (except for tomatoes, which can be planted deeper).
- Water thoroughly – Help the seedling adjust by giving it a deep watering.
Transplanting Seedlings into the Garden
Once your seedlings are strong enough, it’s time to move them into the garden.
Best Transplanting Tips:
- Transplant on a cloudy day or in the evening to reduce transplant shock.
- Prepare the soil – Loosen the soil and add compost or fertilizer.
- Dig a hole the size of the root ball – Place the seedling in and gently firm the soil around it.
- Water immediately – This helps the roots establish in their new home.
Final Thoughts
Seed starting is a game-changer for gardeners. It allows you to grow unique varieties, save money, and ensure strong, healthy plants. While it may take some practice, using these techniques will help you master the process and enjoy a successful growing season. Happy gardening!