Last Updated on February 21, 2025 by Homegrown Florida
This post may contain affiliate links. Read full disclosure here.
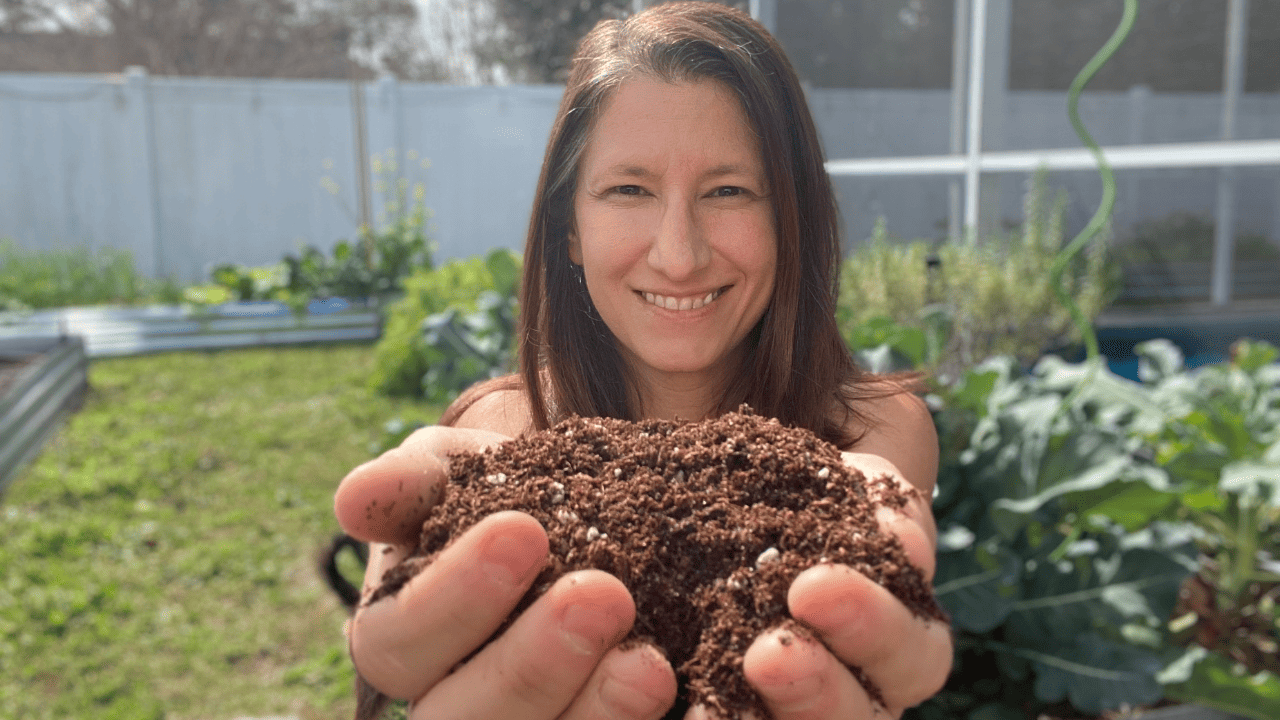
If you don’t prep your soil, your garden could struggle to produce strong, healthy plants. Feeding your garden isn’t just about dumping fertilizer on your plants—there are multiple ways to improve soil health, increase nutrients, and set your plants up for success.
Today, I’m going to walk you through exactly how I prepare my beds to give my plants the best chance at thriving. We’ll cover amendments, fertilizers, compost, and organic mulches, and how they work together to feed both the soil and the plants.
Table of Contents
Why Soil Preparation Matters
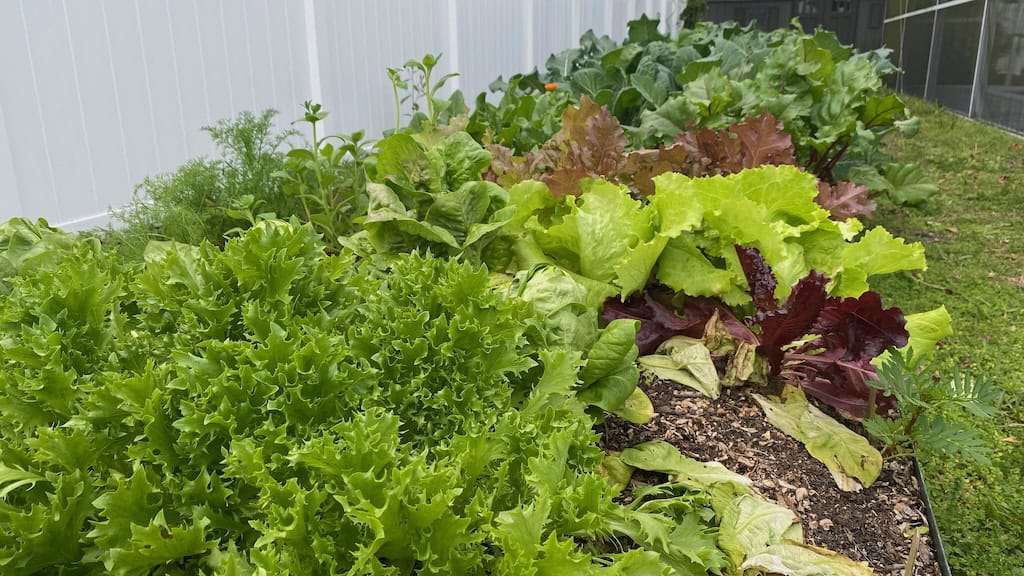
Healthy plants start with healthy soil. If your soil is depleted, compacted, or lacking in essential nutrients, it won’t matter how much fertilizer you throw at your plants. The best way to build nutrient-rich soil is by adding a combination of amendments, compost, and mulch before your plants even go in the ground.
When your soil is properly prepared:
- Plants grow stronger with better resistance to pests and diseases.
- The need for constant fertilization decreases.
- Water retention improves, reducing the need for frequent watering.
- Nutrient availability increases, leading to higher yields.
Step 1: Start with Soil Amendments
Amendments are materials added to improve the overall condition of the soil rather than just feeding plants directly. Unlike fertilizers, which provide immediate nutrients, amendments help build long-term soil health.
I used to think fertilizers were all I needed, but once I started using amendments, I noticed a major difference in how well my garden performed. I now spend less time fertilizing and see much better overall growth.
Here are the key amendments I use.
1. Worm Castings
Worm castings are essentially worm poop, packed with beneficial microbes that improve soil structure and nutrient availability. If you’re just starting a garden in new soil, worm castings can be a game changer.
However, if your garden is already thriving with earthworms, you may not need them as much. I used to use them heavily, but now that my soil is full of worms doing the work for me, I rarely add extra worm castings.
Best for: New gardens, raised beds, and container plants.
2. Blood Meal
Blood meal is one of my favorite amendments because it provides a high dose of nitrogen, which is crucial for leafy green growth. If you’ve ever had plants turn yellow or struggle to put out healthy leaves, nitrogen deficiency could be the issue.
I apply blood meal twice a year:
- In the fall, right after Florida’s summer fertilizer ban ends.
- In early spring, before planting my new crops.
For my beds, I use 1 pound of blood meal per three 8×4 ft beds, which I measure using an old sports cup that holds about a pound. If you’re unsure how much to use, you can also weigh it on a kitchen scale or estimate based on your fertilizer bag’s weight.
Best for: Leafy greens, nitrogen-deficient soil, heavy-feeding crops like broccoli and corn.
3. Bone Meal
Bone meal is a great phosphorus source that supports root development and flower production. I primarily use it for my fruiting plants like tomatoes, peppers, and root crops. It also contains calcium, which helps prevent blossom-end rot in tomatoes and peppers.
Best for: Fruiting plants, root crops, and preventing blossom-end rot.
4. Kelp Meal
Kelp meal is rich in potassium, a key nutrient for overall plant health. While most soils already contain enough potassium, if your plants seem weak or have poor stress tolerance, kelp meal can help.
Best for: General soil enrichment, improving plant resilience, and stress tolerance.
Pro Tip: The only way to know exactly what your soil needs is to do a soil test. I highly recommend testing your soil at least once a year to avoid over- or under-amending. My favorite testing kit is from Epic Gardening.
Step 2: Compost – The Ultimate Soil Booster
Compost is a powerhouse for soil health, adding organic matter, beneficial microbes, and a broad range of nutrients.
I’ll admit, I waited way too long to start composting because I thought it would be too much work. But once I started, I realized it’s one of the best things you can do for your garden.

How to Start Composting
There are two main ways to compost.
- Compost piles: Best if you have space, but they take longer to break down.
- Compost tumblers: Great for small yards, keep things contained, and break down material faster.
I use compost tumblers because they keep pests away and are easy to turn. If you’re worried about attracting rodents, enclosed composting is the way to go.
What to Add to Compost:
- Brown materials (carbon) – Dead leaves, shredded paper, cardboard, sawdust.
- Green materials (nitrogen) – Grass clippings, vegetable scraps, coffee grounds, manure.
What to Avoid:
- Meat, dairy, and oily foods (these attract pests).
- Weeds with seeds or anything sprayed with herbicide (this can kill your garden).
It takes about three months in summer and longer in winter to get finished compost. Once done, I spread one 5-gallon bucket per 8×4 ft bed to refresh my soil.
Step 3: Fertilizer – When and How to Use It
While amendments and compost build long-term soil health, fertilizer gives plants the immediate nutrients they need to thrive.
There are two main types of fertilizers.
- Granular fertilizers – Slow-release, long-lasting nutrients.
- Liquid fertilizers – Fast-acting, quickly absorbed by plants.
Granular Fertilizers (Long-Lasting)
I apply granular fertilizer at the beginning of the season to feed plants for several months. Some of my go-to options include:

- Nutra Rich (budget-friendly, organic chicken manure).
- Espoma Tomato-Tone, Garden-Tone, or Berry-Tone (for specific plant needs).
- Down to Earth Organic Fertilizers (balanced NPK options).
Liquid Fertilizers (Fast-Acting)
Liquid fertilizers are great for boosting struggling plants or providing extra nutrients mid-season. I prefer:

- Alaska Fish Fertilizer (5-1-1) – High nitrogen, great for leafy greens.
- Neptune’s Harvest – Well-balanced, good for overall growth.
I use liquid fertilizers once every 2 weeks if a plant is struggling but stick to granular for long-term feeding.
Step 4: Mulching – The Key to Moisture Retention and Soil Health
Mulch does more than just make your garden look nice—it helps retain moisture, prevent weeds, and slowly break down to feed the soil.
Best Organic Mulches
- Fine wood chips (from tree services or chip drops) – Best long-term mulch.
- Dead leaves – Free, easy, and highly effective.
- Grass clippings – Amazing moisture retention, but make sure they’re herbicide-free.
- Straw/hay – Works well but be careful of herbicide contamination.
- Plant debris – Chop up old plants and use them as mulch.
Mulching is especially important in hot climates like Florida, where it helps reduce evaporation and keeps the soil cool.
Final Thoughts
Feeding your garden is about more than just fertilizer—it’s about building long-term soil health. By using amendments, compost, and organic mulches alongside fertilizers, you create a sustainable cycle that leads to healthier plants and higher yields.
If you’re prepping your beds for the season, take the time to build up your soil first. Your plants will thank you for it! Happy gardening!