Last Updated on February 15, 2024 by Homegrown Florida
I’m thrilled to share the wonderful world of growing dry beans—from seed to storage. Dried beans are an exceptional staple crop, offering self-sufficiency in your garden. Regardless of your location, there’s a variety suitable for your area. The beauty of dried beans lies in their simplicity; they require minimal water, thrive in decent soil, and naturally fix nitrogen deficiencies. Moreover, once dried, beans are shelf-stable, eliminating the need for refrigeration, canning, or freezing.
But that’s not all; dried beans are a nutritional powerhouse, serving as an excellent protein source with approximately 14 grams of protein per cup of dried beans. So, let’s delve into the comprehensive process of growing beans.
Starting with the Basics:
When I embarked on my gardening journey five years ago, I focused on more “exciting” crops like cucumbers and tomatoes, overlooking the potential of growing dry beans. It wasn’t until I explored a vegetarian diet—inspired by my sister—that I truly appreciated beans as a valuable alternative protein source. Whether you’re a vegetarian or not, there are numerous nutritional and environmental benefits to incorporating more beans into your diet.
The Financial Advantage to Growing Dry Beans:
While dried beans are relatively inexpensive at grocery stores, growing them at home presents a compelling financial case. A two-dollar pack of bean seeds can yield a lifetime supply of beans. By saving and replanting the dried beans, you establish a perpetual cycle of seed and food supply.
Planting the Seeds:
Planting beans is a straightforward process. Simply take a dried bean and plant it about an inch deep directly into the soil where it will grow. Avoid starting them in trays; beans don’t transplant well. Keep the soil consistently moist for three to seven days, and you’ll witness excellent germination rates.

Nurturing Your Beans:
Monitor the leaves for signs of yellowing, particularly in the early stages. If a nitrogen deficiency occurs, a single application of a low-nitrogen, water-soluble fertilizer or fish fertilizer can address the issue. However, many beans thrive without any additional fertilization.
Pole vs. Bush Beans:
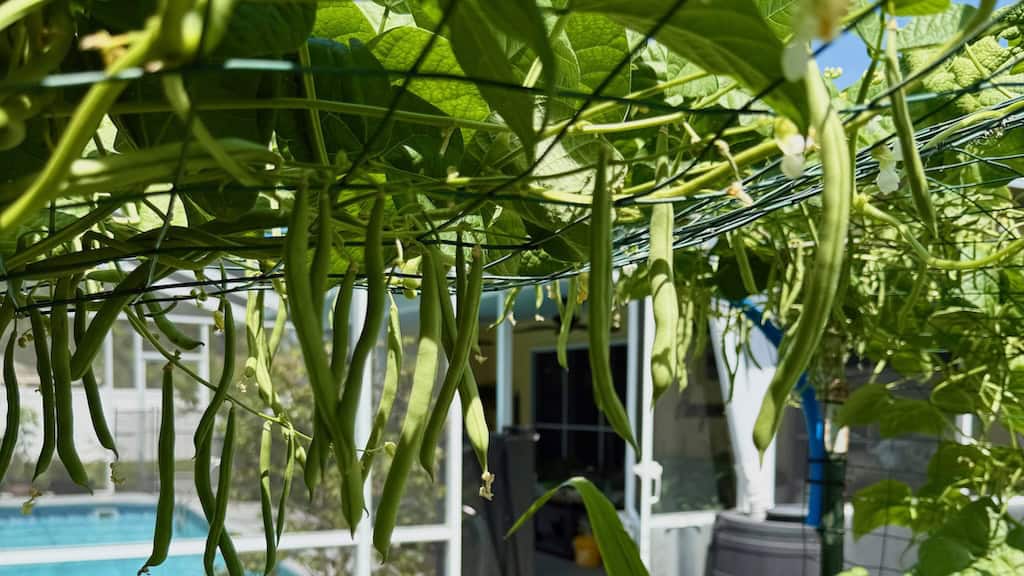
Distinguish between pole and bush beans. Pole beans, which yield more in less space, benefit from trellises to handle their growth. Bush beans have a predetermined yield and are suitable for smaller quantities.
Harvesting and Storage:
Once your bean plants start producing, keep a close eye on the pods. Harvest the pods when they’re dry but before they start molding, especially in humid climates. Shell the beans, separate them from the pods, and store them in a glass container. Dried beans are shelf-stable for years.

Saving Seeds for the Future:
Remember to save some beans for planting the next year. Even if you believe you won’t grow a particular variety next season, saving seeds from one or two plants ensures high germination rates. Bean germination rates decline significantly after a couple years.
And for more insights into self-sufficiency, check out my “Food for a Year” video, where I break down the number of plants needed to feed a family of four. Happy gardening!


