Believe it or not, in my first three years of gardening, I killed every single plant except for one pepper plant that somehow managed to survive. It had an impressive will to live despite all the mistakes I made. Now, after over a decade of experience, I’ve learned a lot about what works and what doesn’t. If you’re struggling to keep plants alive, don’t worry—you’re not alone! I’m going to share how to troubleshoot common gardening mistakes and how to fix them so you can stop killing plants and start growing a thriving garden.
Table of Contents
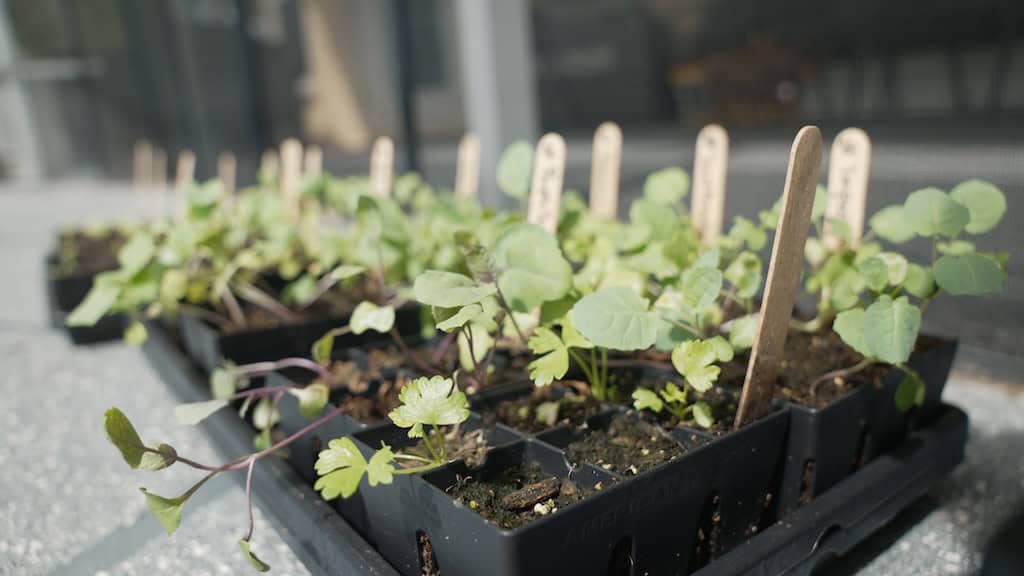
Be Patient: Give Seeds Time to Germinate
One of the biggest frustrations when starting a garden is getting seeds to sprout. Many new gardeners expect instant results, but seeds take time. If you’re starting seeds in trays, you need to understand the conditions they require for successful germination.
My first steps for how to troubleshoot common gardening mistakes when it comes to seed starting is to start with a seed-starting mix in trays or small containers. Seed-starting mix is lighter than regular potting soil, allowing delicate roots to grow easily. It also holds moisture well, which is essential for sprouting seeds.
Once you plant the seeds at the recommended depth (usually as deep as the seed is wide), you’ll need to keep the soil consistently moist but not soaking wet. If the soil dries out, the seed can die before it even sprouts. On the other hand, if it’s too wet, it can lead to rot or fungal issues like damping off, which kills young seedlings before they have a chance to grow.
Temperature is another important factor. Some seeds, like tomatoes and peppers, prefer warm temperatures and may need a heat mat to speed up germination. Others, like lettuce and spinach, prefer cooler conditions and might not sprout well if it’s too warm.
If your seeds haven’t sprouted after two to four weeks, don’t give up! Some seeds take longer than others, and sometimes environmental conditions can slow down the process. But if nothing is happening, it may be time to try another method to encourage germination.
Paper Towel Method
If your seeds aren’t sprouting in soil, the paper towel method is a great way to check if the seeds are viable.

To do this, take a damp (but not soaking wet) paper towel, place your seeds on one half, and fold the other half over them. Then, place the paper towel inside a sealed plastic bag and store it somewhere warm, like on top of the refrigerator or near an appliance that generates heat.
Check every two to three days for signs of germination. If the seeds sprout, you’ll need to transfer them carefully to soil.
How to Transplant Paper Towel Sprouts into Trays
Once a seed has sprouted, handle it with care. The tiny root is very delicate and can break easily. The best way to move them into trays is:
- Prepare a tray with moist seed-starting mix.
- Make a small hole in the soil (about as deep as the seed would normally be planted).
- Gently place the sprouted seed into the hole, making sure the root is pointed downward.
- Cover lightly with soil and mist with water to keep it moist.
If the root has attached to the paper towel, don’t pull it off—this could damage the root. Instead, tear the paper towel around the seed and plant the whole thing in the soil. The paper towel will break down naturally over time.
Hydroponic Germination
Another way to troubleshoot common gardening mistakes with starting seeds, especially stubborn seeds, is to sprout them hydroponically. This method is especially helpful for plants that don’t like inconsistent moisture levels in soil.

Hydroponic systems like AeroGarden and other countertop systems provide consistent water, nutrients, and light, making germination more reliable. The constant moisture prevents seeds from drying out, while built-in grow lights ensure they get enough light as soon as they sprout.
How to Transplant Hydroponic Seedlings into Soil
Once your seedlings have grown their first true leaves in the hydroponic system, you can move them into soil:
- Gently remove the seedling from the hydroponic sponge or pod.
- Rinse off excess water and remove any algae that may have formed.
- Plant in moist soil at the same depth it was growing in water.
- Water thoroughly to help it transition to soil.
Hydroponic systems are a great way to ensure germination, especially for tricky seeds like tomatoes and peppers, before moving them outside.
Cold Stratification
Some seeds require cold stratification, meaning they need a period of cold temperatures before they will sprout.
One easy way to do this is to place dry seeds in their packets inside the refrigerator for 4 to 12 weeks before planting them. This mimics the natural process seeds go through when they overwinter outside.
Cold Stratification for Garlic
Garlic is one of the few vegetables that require cold exposure to grow properly. If you live in a warm climate like Florida, where winter temperatures don’t drop low enough, you’ll need to store garlic cloves in the fridge for 6 to 8 weeks before planting. This helps trigger proper bulb development and prevents small, underdeveloped heads.
Troubleshoot Common Gardening Mistakes: Seedlings
Leggy Seedlings Due to Low Light

My next steps for how to troubleshoot common gardening mistakes when it comes to seedlings is related to adequate lighting. If your seedlings are tall, thin, and weak, they are not getting enough light. This is common when starting seeds indoors without a strong grow light. Seedlings stretch toward the light, making them leggy and prone to falling over.
To fix this:
- Use a grow light placed 2 to 4 inches above the seedlings.
- Keep the light on for 12 to 16 hours per day.
- Rotate seedlings if they are leaning toward a window.
Cold Temperatures Stunting Growth
If seedlings are growing slowly or not at all, they may be too cold. This happens if you start seeds too early in the season before temperatures are warm enough.
Check your indoor temperature—most seeds germinate best at 65-75°F. If necessary, use a heat mat to warm the soil.
Wrong Variety for Your Climate
Not all plant varieties thrive in every location which is a big troubleshoot common gardening mistakes. A variety that grows well in one state might fail in another due to differences in temperature, humidity, and rainfall.
For example, some tomato varieties are bred for hot, humid climates, while others are meant for cooler northern areas. If you plant the wrong variety, it may struggle with disease, pests, or simply refuse to produce fruit.
Research what varieties grow best in your specific region. Local gardening groups, university extension programs, and experienced gardeners in your area can provide great recommendations or you can check out my list of favorite varieties here.
Not Enough Phosphorus and Soil Testing
If your plants are growing but not producing flowers or fruit this is how to troubleshoot common gardening mistakes related to nutrients. Typically these plants may lack phosphorus. This essential nutrient supports root development and flower production.

To determine if your soil is deficient, do a soil test. Soil tests measure N-P-K (Nitrogen-Phosphorus-Potassium) and help you adjust nutrients accordingly.
- Nitrogen (N): Promotes leafy growth. A deficiency causes yellowing leaves and stunted growth.
- Phosphorus (P): Supports flower and fruit production. A deficiency leads to poor flowering and fruit set.
- Potassium (K): Improves overall plant health and disease resistance. A deficiency can cause weak stems and deformed leaves.
If phosphorus is low, use a bloom fertilizer or add bone meal to your soil. Here is everything you ever wanted to know about fertilizer.
Why Your Plants Are Growing But Not Producing Fruit
Even if your plants are growing well, they may fail to produce fruit due to:

- Lack of Pollination: Without bees or other pollinators, flowers won’t develop into fruit.
- Extreme Temperatures: Tomatoes and peppers won’t set fruit if temperatures are too high or too low.
- Too Much Nitrogen: Excess nitrogen causes lush green growth but fewer flowers.
How to Encourage Pollinators
- Plant flowers near your vegetables to attract bees and butterflies.
- Avoid pesticides that harm pollinators.
- Hand pollinate by transferring pollen between flowers using a paintbrush or cotton swab. For more tips on pollination, check out my tips here.
By troubleshooting these common gardening mistakes, you’ll be on your way to a thriving garden in no time. If you’ve struggled with any of these issues, don’t worry—gardening is a learning process! Keep experimenting, and you’ll find what works best for your plants. Happy gardening!