Last Updated on January 15, 2026 by Homegrown Florida
If you have tried to grow garlic in Florida and it turned into sad little grass, refused to bulb, or rotted in the pantry, you are not alone. Garlic can absolutely work in a warm climate, but it will not behave like the garlic tutorials written for people who shovel snow. The timing is different, the varieties are different, and the way you handle it from August to harvest looks a little weird from the outside.
Table of Contents
This post may contain affiliate links. Read full disclosure here.
Let’s walk through garlic in Florida from start to finish and similar warm climates, and fix the three big failure points:
- Wrong type of garlic in Florida
- No cold treatment
- Planting too shallow and too close
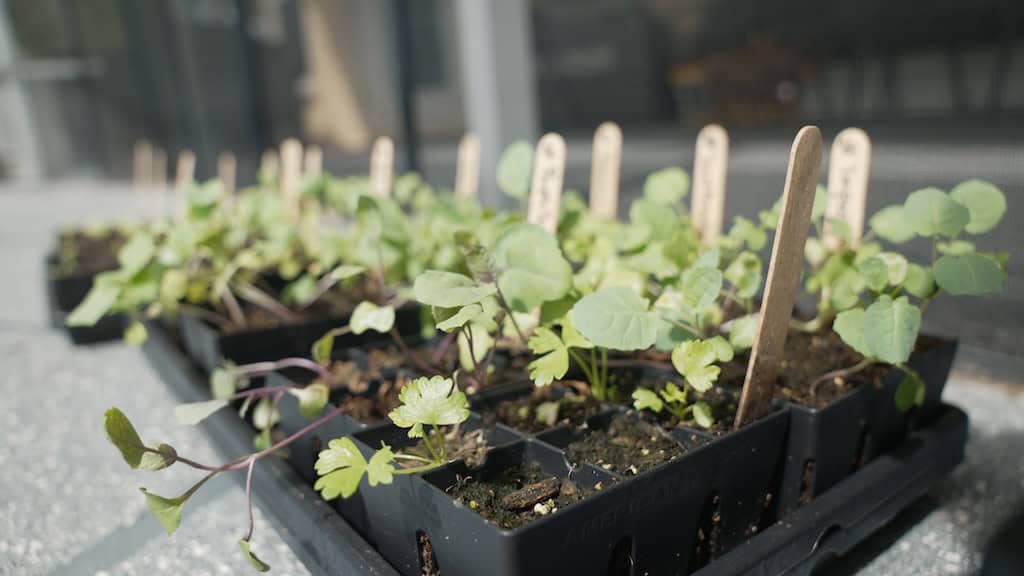
Step 1: Choose the right type of garlic for the South
The biggest shift for garlic in Florida is variety choice. You cannot just grab any pretty bulb and expect it to work. In warm climates like Florida, the winners are:
- Soft neck garlic
- Creole types for very warm areas
Hard neck garlic likes deep cold and big swings in daylight hours. That is not our life here.
Soft neck vs hard neck in plain language
- Soft neck
- No stiff stem through the center
- Does not produce scapes
- Needs less cold and less dramatic day length changes
- Stores very well, often up to nine to twelve months in a pantry
- Hard neck
- Has a rigid center stem
- Produces delicious scapes
- Needs real winter and big daylight swings
So if you grew garlic in Florida and waited for scapes that never showed up, you probably had soft neck and did not realize it. That is actually the type you want here.

Varieties that behave well in Florida
These have been stand out options in warm climates:
- Inchelium Red
Consistent bulbs year after year and very forgiving. This is the workhorse that keeps showing up in my beds. - Other soft neck and creole types
- Silver Rose
- Early Italian or Italian artichoke types
- Creole varieties for zones that stay warm all winter, including far South Florida
You can test new kinds every year, but it is smart to always plant at least one tried and true variety alongside the experiments, so you have a baseline for what “good” looks like.
Step 2: Order early and give garlic its fake winter
This is the part that trips up most Florida gardeners, because the timing starts long before you plant.
When to order

Seed garlic is not something you just pick up on a random Saturday in November. It sells out fast. Plan to order in August or September since many suppliers open pre orders and then ship sometime in September or October
You want seed garlic, not grocery store garlic. Grocery bulbs are usually treated to prevent sprouting and are not chosen for performance in your climate. They also are not certified disease free so they could transmit bad bacterial or fungal diseases into your garden.
Vernalization: the “fake winter” garlic in Florida requires
Garlic needs a period of cold to trigger bulb formation. In colder climates, the weather handles that. In Florida, your fridge has to do that job. Once your garlic arrives:
- Open the box and remove any plastic so the bulbs can breathe
- Keep them in their paper coverings
- Place the box or a mesh bag of bulbs in the refrigerator, not the freezer
- Chill for six to twelve weeks
Shorter chilling can work, but the risk of poor bulbing goes up. Twelve weeks gives you the best odds that most bulbs will divide into full cloves. If you skip this step, you still get plants, but you will end up with “green garlic” that looks like a fat scallion instead of a proper bulb with cloves.
Step 3: Get the bed ready before planting day
While the bulbs chill, you can prep the spot where they will live for the next several months. Garlic in Florida is in that bed for a long time, so it pays to set it up well.
Pick the right location
- Full sun for at least six to eight hours
- A bed that drains well and does not sit soggy after a rain
- Somewhere you can reach easily, since you will be mulching and checking them for months
Before planting:
- Loosen the soil at least six inches deep
- Mix in a layer of compost
- Add a light sprinkle of bone meal for phosphorus
- Add blood meal or another nitrogen source to feed early leaf growth
- Rake everything so the surface is even
The goal is “soft and fluffy” with good nutrients on board. You do not want heavy, sticky soil that compacts around the cloves.
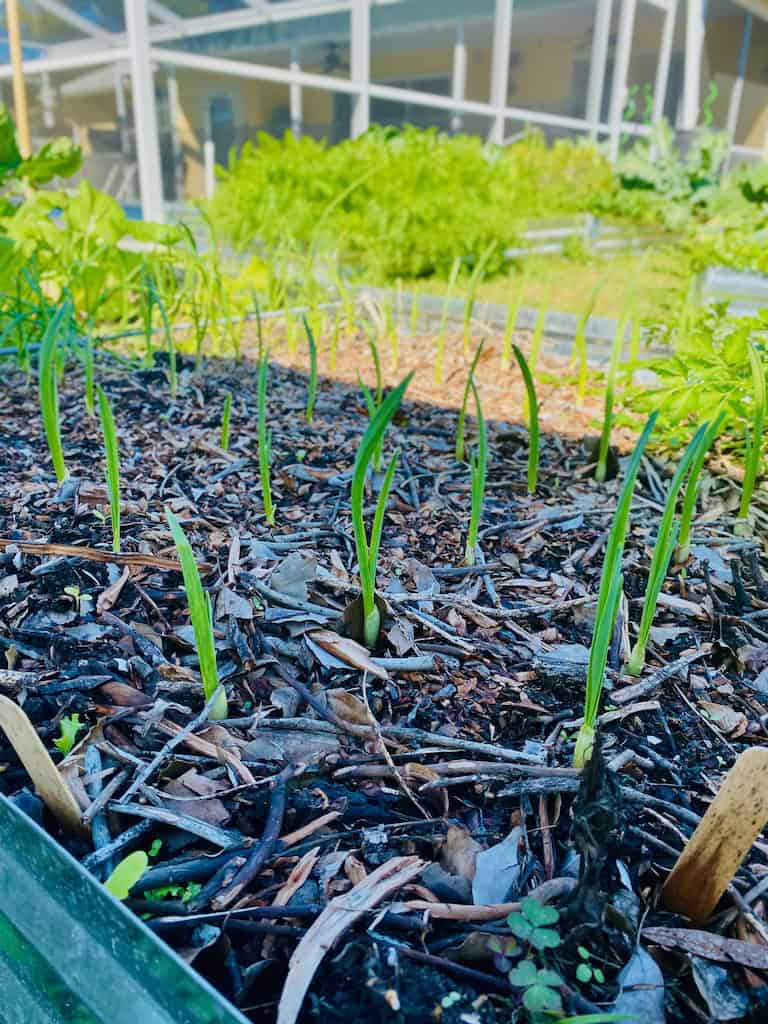
Step 4: Break apart bulbs and plant them correctly
When to plant garlic in Florida
When your chilling period is done and a nice cool spell hits your forecast, it is planting day. Aim for a planting window from early November to the end of December. Check out my Florida planting schedule.
If you can time it so cloves go into the ground right before or during a cool front, even better. They come out of a cool fridge into cool soil and then slowly wake up as temperatures bounce between cool and mild, which feels like spring to them.
How to prep the cloves
- Take a bulb and gently break it apart into individual cloves
- Leave the papery skin on each clove to protect it from rot
- Sort out the largest outer cloves for planting
- Save the small inner cloves for cooking
Big cloves make big bulbs. Small cloves make weak plants and tiny bulbs that are not worth the garden space.
Depth, spacing, and orientation
These details matter a lot in Florida.
- Pointy end up, flat end down
The flat end is where the roots grow. The pointy end is where the stem emerges. If you plant them upside down, the plant has to waste energy turning itself around and often fails. - Plant four inches deep
Most guides say one to four inches. Florida has intense heat later in the season, so the deeper end of that range gives the bulbs insulation once summer approaches. - Space four to six inches apart
- In a very healthy, mature bed, you can lean closer to four inches
- In newer or less fertile beds, six inches gives each plant its own feeding zone
Too close and the plants compete for nutrients and bulbs stay small. Too shallow and they bake near the surface when late spring heat arrives. After planting, cover the cloves with soil and add a light layer of mulch. You will build that mulch deeper over time.
Step 5: Watering garlic in Florida through the seasons
Garlic in Florida does not want constant soaking, but it also cannot dry out repeatedly while it is getting established. Your job is to match the watering to its growth stage and the weather.
Before sprouts emerge
- Water about once a week
- Give the bed a deep soak rather than a light sprinkle
- Keep a thin layer of mulch to hold moisture
At this stage, the cloves are forming roots and starting to push upward, but you will not see anything yet.
After sprouts appear
Once the green shoots show:
- Switch to twice a week watering
- You can do this with drip, a gentle sprayer head, or a watering can
- Think “even moisture” rather than mud
In cooler months, this is usually enough. As the season shifts toward warmer weather, evaporation speeds up and you may need longer watering sessions.
As bulbs start forming
When you see that bulbs are starting to swell underground, or you are approaching your usual harvest window:
- Keep soil lightly moist, not fully soaked
- Begin to reduce how often and how long you water as harvest gets closer
The last week before harvest, you want dry weather and no intentional watering. That helps the skins tighten and makes curing easier.
Step 6: Feed for leaves first, then bulbs later
Garlic in Florida has two different nutrition needs over its life. Early on, you want leaf growth, since more leaves mean more potential wrappers around each bulb. Later, you shift to a balanced fertilizer so the plant finishes the bulb instead of pushing new foliage.

Early season feeding
Once sprouts are up and growing:
- Use a higher nitrogen option to push leafy growth
- Blood meal or feather meal scratched into the soil once a month
- Fish fertilizer such as a Alaska fish fertilizer every two weeks as a liquid feed
This stage usually runs from sprouting through late winter.
Mid to late season feeding
As you get into late winter and early spring and the plants are large and robust:
- Switch to an even, all purpose fertilizer
- Organic choices like planttone, gardentone, or similar
- Synthetic options such as a 10-10-10 blend
These are usually applied every six to eight weeks. You may only need one or two light applications before you stop feeding entirely.
Once bulbs clearly have shape and you can see cloves starting to separate inside the wrapper, you do not need to fertilize anymore. At that point garlic is finishing, not building.
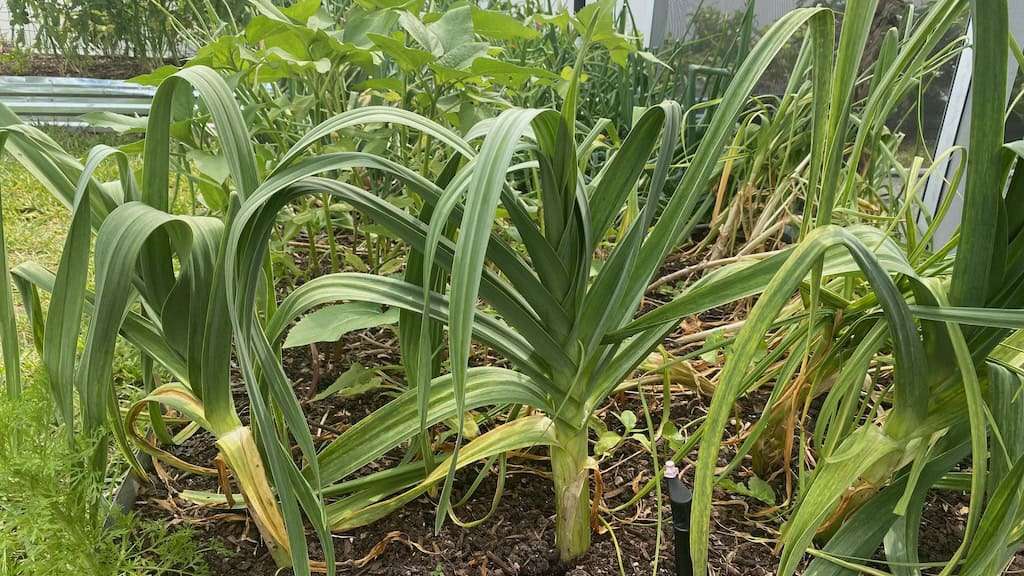
Step 7: How to tell when garlic is ready to harvest
Do not trust the calendar alone. Florida’s mild winters and strange temperature swings mean that garlic maturity dates on the bag are just suggestions.

Use two checks instead.
The leaves
As garlic approaches maturity:
- The bottom leaves start to yellow and dry at the tips
- That browning slowly moves up the plant
When the bottom two or three leaves have browned and dried back, it is time to start checking bulbs underground.
The bulb itself
Pick one plant at the edge of the bed to be your “test garlic” and use it every time.
- Gently dig beside that stem until you reach the bulb
- Brush away soil so you can see the shape clearly
You are looking for:
- A bulb about the size of your fist
- Clear separation into cloves instead of one solid piece
If the stem goes straight down with no swelling, you are still early. Cover it back up and check again in a few weeks. Once you see a good sized bulb with distinct cloves, you are within a few weeks of harvest. You can begin to taper watering and let the tops mature.
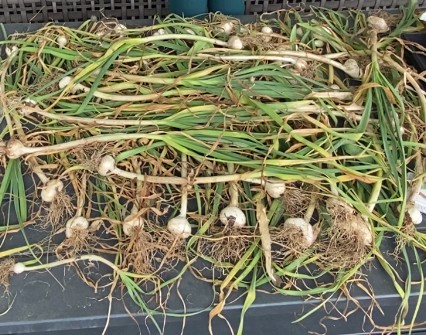
Step 8: Harvesting and curing in a humid climate
When the timing looks right and several plants show well shaped bulbs, it is time to pull the crop.
Harvesting
- Loosen soil gently with a fork or hand tool
- Lift the whole plant by the base, do not yank on the leaves alone
- Try to avoid slicing or bruising the bulbs
Shake off loose soil, but do not wash the garlic. Water introduces moisture into the wrappers and raises the risk of rot.
Curing garlic in Florida conditions
Soft neck garlic still needs a curing period, even in a warm climate.
You want a space that is dry, out of direct sun, and is well ventilated. Good options include a covered patio, a shaded shed, or a carport.
Lay bulbs in a single layer on a table or rack or hang them in small bundles on a fence, wire, or hooks. Check them around the two week mark. They are fully cured when:
- The stalks are completely brown and crispy
- The outer skins are dry and papery
- The neck where leaves meet the bulb feels firm and dry when you squeeze it
In very humid locations, curing can take closer to four weeks. Be patient and keep the air moving.
Step 9: Storing and using your garlic harvest
Once curing is done, you can decide how you want to store and preserve it.
Basic pantry storage
For bulbs you plan to use as whole heads:
- Trim the roots
- Cut the stem to a short stub, unless you plan to braid
- Gently rub off only the loosest, dirtiest outer skin
- Store in a cool, dry, well ventilated area out of direct light
Leaving more wrappers on the bulb helps it last longer, especially in a humid climate. Dirt on the outside will not hurt it in storage and actually protects it.
Braiding soft neck garlic
Soft neck types can be braided once the stems are partly dry but still flexible.
- Braid while there is a bit of bend left in the stalks
- Hang the braid in your curing area to finish drying
- Move it later to a pantry or kitchen wall that stays relatively cool
If you wait until the stems are fully rigid, braiding becomes a diffcult and a test of patience.
Other preservation options
If you end up with garlic that did not bulb well or cloves that are too small to bother storing whole, you can still use them:
- Slice and dehydrate to make garlic chips or grind into garlic powder
- Mince cloves and freeze them in oil in ice cube trays, then pop the cubes into a freezer bag
- Use “green garlic” fresh in place of scallions in soups and stir fries
The goal is to eat what you grew and learn from the season so next year’s crop is even better.
Once you dial in soft neck varieties, a good chilling window, and solid planting depth and spacing, garlic stops feeling mysterious and turns into another reliable Florida crop that quietly does its thing all winter while you focus on everything else.
And if you want a full breakdown of garlic along with thirty other vegetables for Florida, that is where Homegrown Florida Gardening Guide comes in. By using this step by step, you can absolutely get a real garlic harvest here in the Sunshine State.