Last Updated on December 18, 2025 by Homegrown Florida
You know those seed packets that confidently say growing perfect carrots will be ready in 65-75 days. Yeah, no. Maybe in a perfectly controlled, cool season world with endless sunshine. In a real garden, especially in warm places like Florida, growing perfect carrots take a lot longer to size up. The good news is, it is usually not that you are a bad gardener. It is that carrots are picky about three things that most people underestimate.
- How you prepare the bed
- How you sow and thin them
- How long you actually wait before you start pulling
Let me walk you through exactly how I plant carrots now so I get big, straight roots instead of tiny, twisted clusters.
Table of Contents
This post may contain affiliate links. Read full disclosure here.
Step 1: Choose the right season and the right spot
Carrots are cool weather crops. They like:
- Daytime temperatures in the 50s and 60s
- Cool nights
- Plenty of sun, ideally six to eight hours or more
In my Florida garden, that means I plant carrots from October through February. If I try to start them in September, the soil is still warm and they sulk. They sprout unevenly, get stressed, and are more likely to bolt early in spring. Wherever you live, ask yourself two questions.
- When is your naturally cool season
- When can you give them the most sun during that season
Short winter days slow everything down. Here in Florida, our daylight drops from around twelve hours in summer down to eight or nine in winter. If your carrots are also in a bed that gets shade from a fence or house, the growth slows even more. That is a big reason the seed packet timeline does not match what you see in real life. So pick:
- Your sunniest cool season bed
- A spot that stays in full light for as much of the short winter day as possible
That one change alone can add a lot of size to your harvest.
Step 2: Prepare loose, stone free soil for growing perfect carrots
If you’re growing perfect carrots, the roots need a clear path. I start by clearing everything off the surface.
- No mulch
- No sticks
- No little rocks hiding in the top few inches
Then I loosen the soil. You do not need a big tiller. A hand fork, broad fork, hoe, or even a sturdy cultivator works. The goal is soft, crumbly soil at least five or six inches deep. In raised beds, this is usually easier as long as you have not been stepping in the bed and compacting it. While I am there, I like to add a gentle, root friendly mix of amendments, especially in sandy Florida soil.
- Bone meal for phosphorus
- Kelp meal for potassium
- Chicken manure pellets or another mild organic fertilizer
Mix these into the top few inches. Growing perfect carrots do not need heavy feeding, and too much nitrogen can cause forked roots and a lot of leafy tops with skinny bottoms, so keep it modest. If you skip this step and plant into compacted soil with rocks, the carrot will do exactly what the soil tells it to do. It will bend, fork, and twist around every obstacle.
Step 3: How I actually sow carrot seeds
Carrot seeds are tiny and ridiculous, which is why most of us end up with a whole patch of carrot hair instead of evenly spaced seedlings. I use two simple methods depending on the situation.
First Method: The scatter and thin approach
This is what I do the first time I plant a new row.
- Lightly level the soil. You want it as even as possible so water does not run to one side and drag seeds with it.
- Sprinkle the seeds from a little height above the bed. Dropping them from higher up helps them separate instead of clumping.
- Gently rough up the surface with my fingers. I am not burying them deeply, just scratching enough soil over the seeds to barely cover them.
This method is fast and it works, but you absolutely will need to thin later. That is built into the plan.
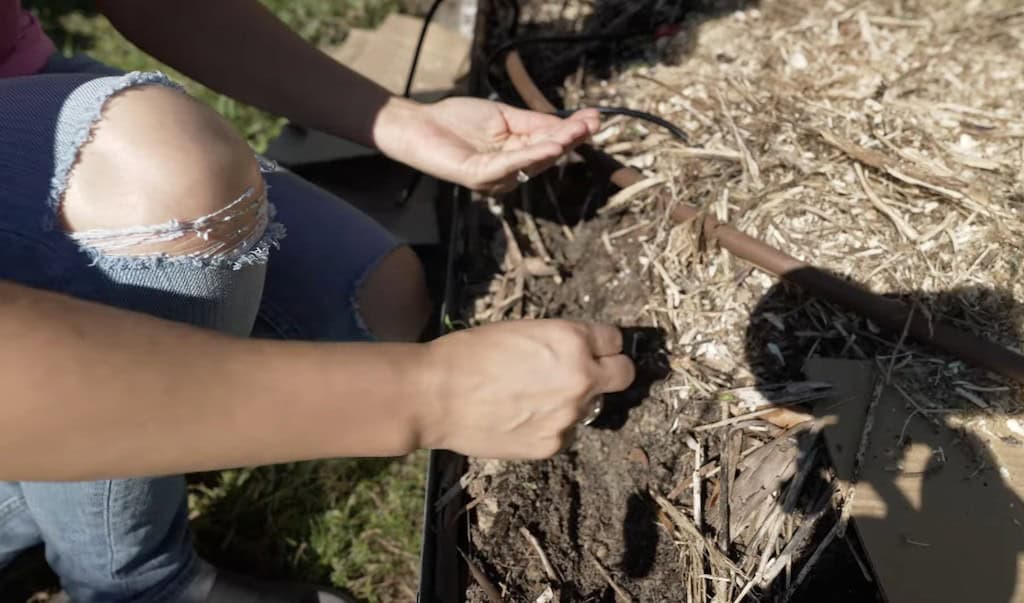
Second Method: Filling the gaps
Once that first sowing comes up, there are always a few bare spots. Instead of throwing more seed over the whole bed and making the crowding worse, I patch the gaps.
- Find the empty place between seedlings, usually a gap of two or three inches.
- Make a small divot with my finger.
- Drop two or three seeds into that little divot.
- Gently push soil back over the top.
Now I know every seed I added has a specific job to fill space, and I am not creating a new overcrowding problem.
Step 4: Keep the surface moist without cooking the seeds
Here is where growing perfect carrots make or break. Carrot seeds sit right near the surface. They can take up to twenty one days to germinate. One hot afternoon of dry soil at the top and they simply give up. Trying to keep that top quarter inch of soil evenly moist for two to three weeks in Florida sun is not fun. So I cheat a little. After sowing, I:
- Water very gently with a fine mist hose setting or a watering can. If the water is blasting and you see soil moving or water running, you are washing your seeds away.
- Lay cardboard, a board, or a similar cover right over the row. I reuse the same pieces of cardboard all season.
- Weigh it down lightly with something handy like mulch or rocks so it does not blow away.
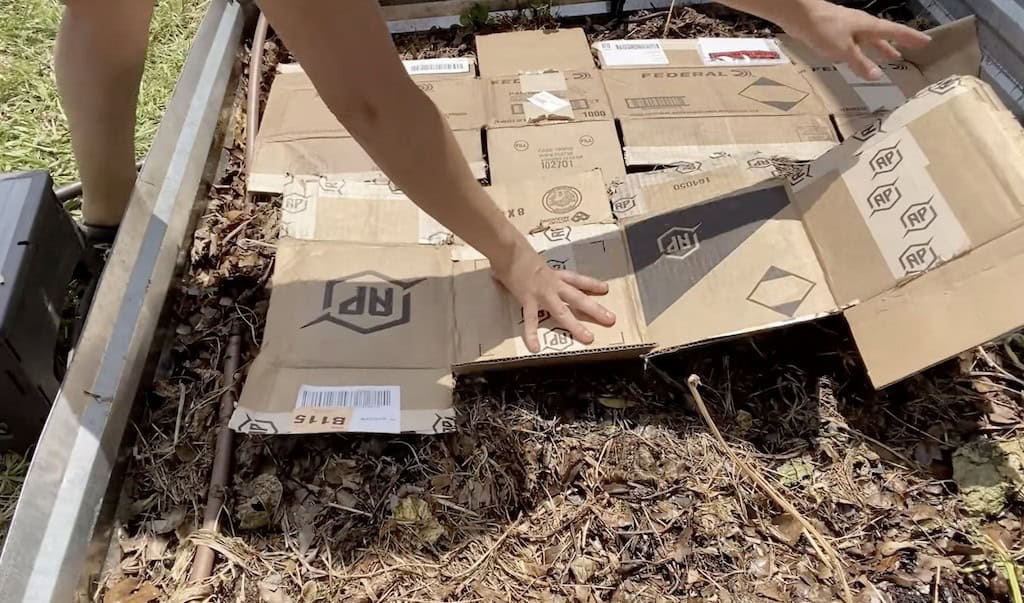
That cover does two jobs.
- It keeps the sun off the soil so moisture lasts longer
- It evens out the temperature and gives the seeds a stable environment
Every two or three days, I lift the cardboard, water gently again, and put it back. The important part.
- The moment you see even one tiny carrot seedling poke up, remove the cover and leave it off
- Water well, and within a day or two, the whole row usually follows
If you forget to remove the cover once they start sprouting, those fragile seedlings will stretch and bend, so keep an eye out.
Step 5: Thinning, the painful step that makes or breaks your harvest

This is the part nobody wants to do. If you do not thin carrots, you will almost certainly get tiny roots that never size up. Carrots are divas about personal space. Once their roots bump into a neighbor, they stop trying. I thin when the seedlings are still very small, usually only a couple of inches tall. Here is how I do it.
- Look for clusters where seedlings are within about one inch of each other.
- Decide which plant looks strongest, usually the one with the thickest stem and healthiest leaves.
- Use small scissors or snips to cut the extras off at soil level. Do not pull them. Pulling can disturb the roots of the seedlings you want to keep.
- Aim for about two inches of space between remaining plants.
It feels harsh to clip perfectly healthy little baby carrots, but if you leave them crowded, they will all stay spindly and you will have a whole bed of disappointment. The earlier you thin, the less they have to compete and the better the final size.
Step 6: Forget the seed packet days and learn to read the roots
Carrot seed packets love to promise maturity in 65-75 days. Maybe in a test field with perfect light and perfect weather. In a real garden with short winter days, the math changes. In my Florida garden, this is what I actually see.
- Fall planted carrots often take around four months to reach full size
- Spring planted carrots are a little faster, but still usually longer than the packet says
Shorter days equal slower growth. Less sun because of fences, sheds, or trees equals slower growth. Cooler soil also slows everything down. Instead of counting days, I check the carrots themselves.
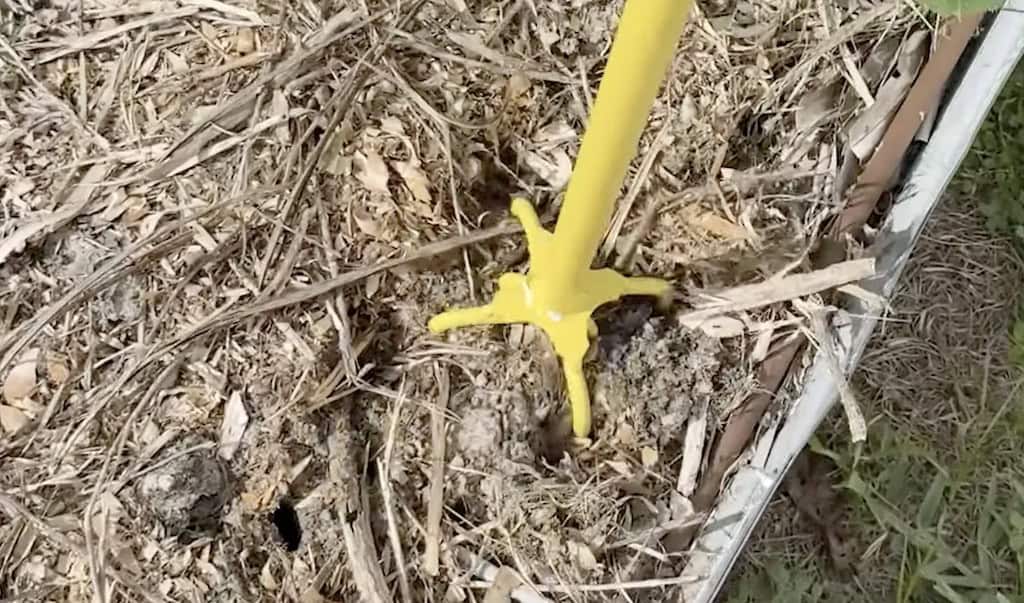
- Push the soil away gently from the top of a carrot so you can see the shoulder.
- If the top of the root is about the size of a quarter or bigger, it is usually worth pulling one to check length.
- If it is much thinner than that, cover it back up, water, and give it more time.
If you prepared deep, loose soil in the beginning, a carrot with a quarter sized shoulder should have good length. If your soil is harder or they hit a rock, you might find a short stubby root even with a nice shoulder. That is a soil issue, not a timing issue. Be ready to give them closer to 120 days for growing perfect carrots from an autumn sowing. It sounds extreme, but once you see the results, you will stop believing the number on the packet.
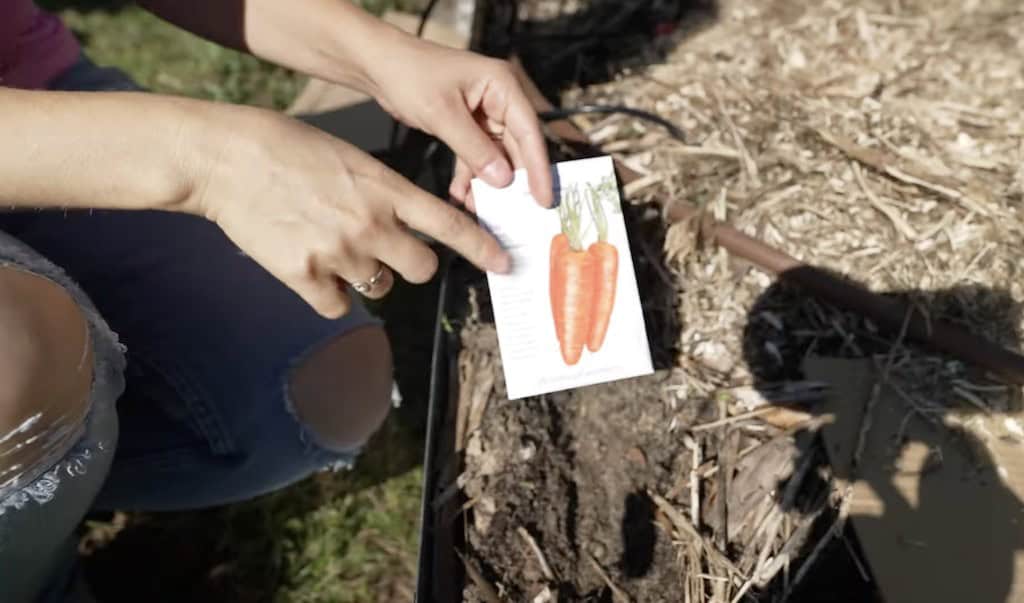
Step 7: Pick varieties that like your climate
Variety choice matters more than most people think, especially in warm climates. In my Florida garden, my workhorse variety is Kuroda type carrots. These were bred in Asia for warmer, more humid conditions and they handle heat much better than many classic European types. They are thick, sweet, and I have yet to see them bolt on me the way some other varieties do when spring heat arrives. A few notes on varieties.
- Classic types like Nantes, Danvers, and Tender Sweet can grow here, but they usually take longer and are more likely to bolt as it warms up
- Some colored carrots, like Cosmic Purple, can do surprisingly well, but they may not get quite as large as a good Kuroda type
- Rainbow mixes are fun but are usually blended for general climates, not specifically for hot places, so expect some winners and some under performers
Whatever varieties you try, pay attention to what actually works in your bed. When you find a carrot that handles your heat and still gets big, that is the one to keep reordering. One more important detail. Carrot seeds do not stay viable very long. The germination rate drops sharply after a year. If you are seeing poor germination across a whole row, the seeds may simply be old. Either buy fresh seed each season or save your own seeds from carrots that bolt and flower in your climate.
Light feeding and basic care after they are up
Once carrots are established and thinned, they really are pretty low maintenance. I usually:
- Keep the bed evenly moist, not soaking wet and not bone dry
- Avoid heavy nitrogen side dressing that would push foliage over roots
- Occasionally sprinkle a little bone meal mid season if the bed was under fed to begin with
Over feeding carrots often gives you lush tops and skimpy roots. If you prepared the bed well at the start, you usually do not need to add much during the season.
Harvesting and handling
When you are finally seeing quarter sized shoulders along the row, it is time for the fun part.

- Loosen the soil gently alongside the row with a fork or hand tool, especially if your soil tends to grab roots
- Pull one or two test carrots to check length and flavor
- Harvest what you need and leave the rest to size up a bit more if they are not quite there yet
As soon as you pull them, twist or cut the green tops off. If you leave the tops attached, they continue to pull moisture out of the roots and your beautiful carrots will go rubbery much faster.
If you’re looking for even more detailed guidance on growing veggies here in Florida—like when to start seeds, how to manage pests, and what varieties really thrive—don’t forget to check out my ebook! It’s got a chapter for every single vegetable and is packed with everything I’ve learned over the years gardening in Florida.