Last Updated on December 18, 2025 by Homegrown Florida
There is something about a GreenStalk that makes you think you are about to grow a perfect little tower of salad and strawberries overnight. The photos look lush, every pocket overflowing, nobody ever seems to have crispy lettuce or sad beans. My first seasons were not like that. I had a ton of Greenstalk mistakes.
I had strawberries that died, pockets that dried out overnight, seedlings that sprouted then disappeared, and a lot of frustration trying to figure out why this thing that looked so simple was actually finicky. Now that I have grown in GreenStalks for years in Florida heat, I have a much better handle on what they are great at and where you have to work with their quirks. This post walks through seven things I wish I had known before I planted my first one so you can skip a few of the painful experiments.
Table of Contents
This post may contain affiliate links. Read full disclosure here.
Watering is the make or break detail
GreenStalks are designed around that top watering tray. In cooler climates, it really can be as simple as filling the top and letting the water trickle down through each tier. In Florida or any hot area, that is only part of the story. A few key things to know.
Old lids versus new lids
Older GreenStalks had a center pattern that slowed water down but also clogged easily with debris. Mine collected leaves from nearby trees and the little channels filled with dirt. Water would stall in the top tiers and never reach the bottom pockets. Newer versions have simple round holes instead of those lines. That tiny change made the water flow much more reliable. If you bought your GreenStalk recently, you most likely have the newer style and will not need to modify anything.
If you have an older version and find the holes clogging constantly, you can very carefully widen them like I did with a small drill bit, but I do not recommend that as the first choice. Clean the tray, clear the holes, and only grab a drill if you truly cannot keep water moving. FYI widening the holes could void your warranty.

From fall through our mild Florida spring, I can treat the GreenStalk more like the marketing promises.
- Fill the top watering tray to the recommended line
- Let the water move through all the tiers
- Repeat as needed based on weather
In this cooler part of the year, the soil does not dry out as fast and the built in system works well.
Summer is a different game. In hot climates, the pockets dry very quickly and one gentle fill at the top may only wet the upper tiers.
In peak heat I do this instead:
- Remove the top water reservoir and cover, then fill the entire top tier with water. Let it stand for a bit so it can soak through all the lower tiers.
- Walk around the GreenStalk and flood individual pockets that hold anything thirsty or newly planted.
GreenStalk recommends just filling the top reservoir. That is fine if you love watering. I do not want to babysit containers every single day, so I would rather water more deeply and get several days out of each session. Doing this in the hottest stretch usually gives me anywhere from four days to almost two weeks between waterings, depending on the plants and the weather.
Watering when you start from seed
This is where many people struggle. The built in watering system sends moisture down through the center of each tier. Tiny seedlings have short roots that sit closer to the front of the pocket. So even if the tier is damp in the middle, that baby root zone can stay dry.
Simple rule to remember: If the top of the plant is short, the roots are just as short, and they are not reaching the center yet. So any time you direct seed into a pocket:
- Keep the soil filled close to the front edge
- Mist or gently water that pocket from the front
- Continue doing that until the plant is around three to six inches tall, then its roots are usually long enough to tap into the center flow
Once you hit that point, you can rely on the top tray again.
The soil mix matters more than the brand name on the tower
When my GreenStalks performed poorly in the beginning, soil turned out to be the biggest villain.

I tried:
- Bagged raised bed mixes
- Heavy all purpose mixes
- Typical big box potting soils
They held too much water, compacted, and were hard for roots to move through. Strawberries in particular absolutely hated them.
Later, I tested three lighter mixes side by side with lettuce through the cool season. The results were clear.
- Miracle Gro potting soil stayed heavy and wet, and plants never looked as happy
- Fox Farm gave nicer structure but still did not shine in the GreenStalk for me
- ProMix style blends, with a peat or coco base plus perlite, gave the best combination of drainage and moisture holding
What I look for now:
- Very light and fluffy texture
- Almost no sticks or bark chunks
- A peat or coco base, some perlite, and enough compost that it holds water but does not become mud
If I cannot find the exact ProMix potting blend in my area, I fake it:
- One part peat or coco
- One part quality compost
- A good handful of perlite mixed in
- Granular organic fertilizer blended through the whole tier
The GreenStalk itself can only work with what you give it. A tall tower filled with heavy mud behaves nothing like the airy towers you see in the photos.
Greenstalk mistakes with seed starting
You can absolutely start seeds directly in the pockets. You just have to treat those pockets like mini shallow pots until the plants grow up. Here is the process that works best for me.

- Fill each pocket completely
Bring the soil up level with the front edge. If you leave it low, the pocket itself will shade the seedlings and they will stretch, lean, and flop. - Pre moisten the pockets
Water each pocket before you sow, so the soil is evenly moist instead of dry on top and soggy at the back. - Plant at the right depth
I follow a simple rule everywhere in my garden.- Plant the seed as deep as the seed is tall. A tiny lettuce seed only needs a shallow dent. A bean seed can go in a small hole about the height of the seed.
- Space more generously than the label suggests
The GreenStalk chart says you can put several plants per pocket for certain crops. In my experience, one strong plant usually outperforms three crowded plants in these small spaces. - Think about light when you plant
The number one reason for seedlings dying after sprouting is low light. In a GreenStalk, shading can come from:- Existing plants in the tier
- The tier itself casting a shadow from low soil
- A wall, tree, or fence nearby
- One trick that helps a lot:
- Plant one side of the GreenStalk first
- Leave it facing your best light and do not rotate for about a week
- Once seedlings are strong, plant the opposite side and then start rotating daily
That short head start can be the difference between sturdy seedlings and leggy ones.
Color is more than an aesthetic choice
I learned this one the hard way. My first GreenStalk was a darker color. It looked beautiful, but in Florida sun the plastic heated up much faster, which meant the soil heated up and everything dried even faster around the edges. When I added lighter colored towers, the difference was obvious. The soil stayed noticeably cooler and plants were less stressed in heat.

Basic guideline:
- Hot, intense sun climates
Lighter colors are kinder to roots and give you a little extra buffer before the soil bakes - Cooler climates
Darker colors can help warm soil faster in spring and extend the season a bit
The plastic GreenStalk uses is fairly thick and insulated, so this is not the only factor, but in my garden it has been enough of a difference that I now lean toward light colors for any new tower.
The base and wheels decide how often you curse at the thing
There are two different base options: the mover and the spinner, with or without wheels. I started with the mover because it was cheapest and then ended up replacing everything later with the spinner. Here is the blunt version.
- The mover style base is heavy and does not spin well on its own
- Without wheels, moving a fully planted GreenStalk is almost impossible
- The spinner base rotates easily with a couple of fingers and is much more practical for daily turning
If you ever need to:
- Roll the tower into a shed or garage
- Pull it close to the house for a cold snap
- Move it for hurricanes or storm prep
You want wheels under it, even if the wheels are not perfect. Mine have held up for years, but they are not the smoothest things in the world. They do their job though, which is all I really need. If I were starting from scratch now, I would skip the mover style and go straight to the spinner. Rotating the GreenStalk is much more realistic when you can literally spin with 2 fingers instead of wrestling the whole stack.
Fertilizing a GreenStalk is different from fertilizing a garden bed
In a raised bed, roots can wander and find nutrients in a big volume of soil. In a GreenStalk pocket, roots are contained, and nutrients are used up faster. I handle feeding in two layers.

Periodic deep refresh
About every couple of years I do a full refresh:
- Dump each tier onto a tarp
- Mix in compost, some perlite if needed, and a granular organic fertilizer
- Refill the tiers and re stack
This resets the soil, loosens it again, and adds a fresh bank of nutrients.
Seasonal feeding
Between those big refresh years, I keep things simple with liquid fertilizer.
- Open the top watering reseviour
- Add liquid organic fertilizer, then fill with water
- Let it move through and feed each tier
Because gravity is involved, the top tiers receive more of the solution, and the bottom tiers can lag behind. When I see the top looking lush and the lower pockets slower, I:
- Mix another batch in a watering can
- Directly water the bottom tiers so they catch up
You can absolutely use compost as a top dress in pockets too. Just know that you are working with a small volume, so regular feeding is not optional. Containers always need more attention than plants in the ground.
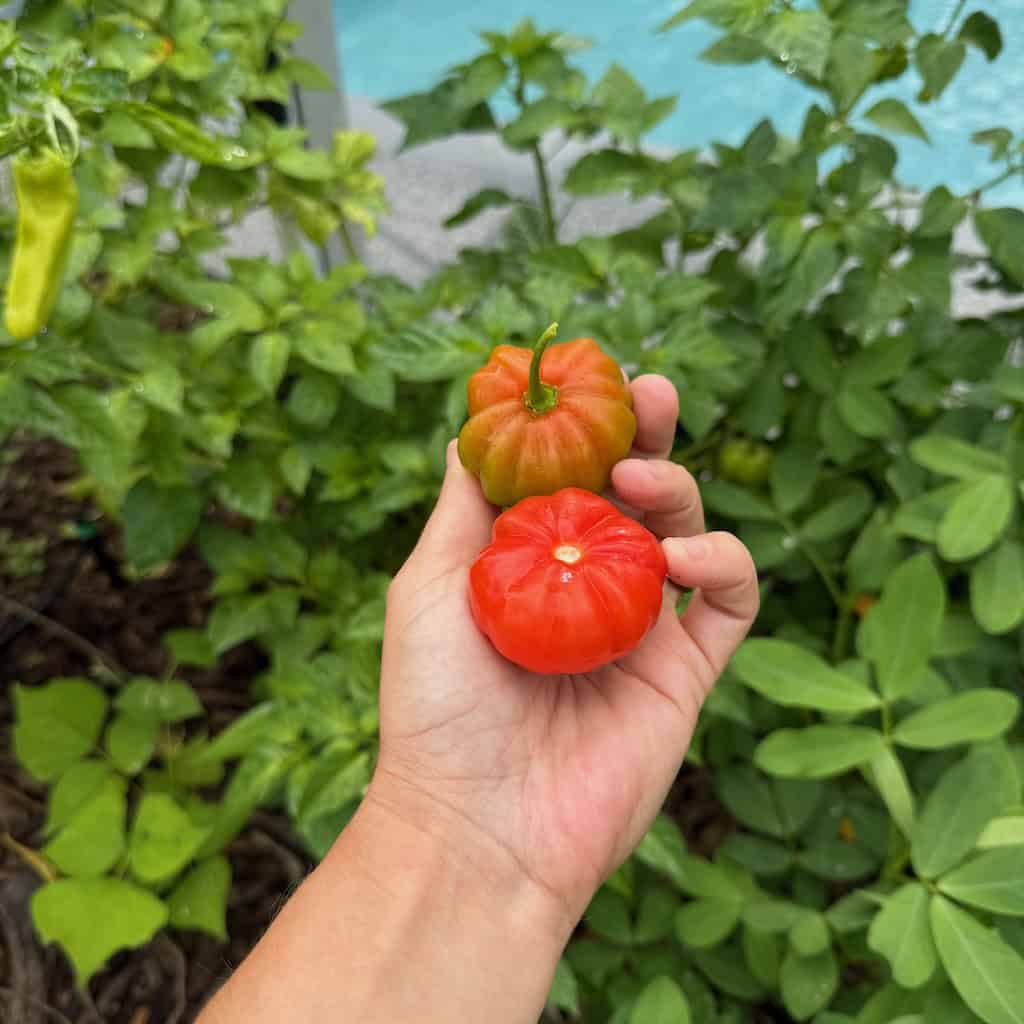
Not every plant is a good fit, and that is fine
GreenStalks can grow a surprising variety of crops, but some things are a better match than others. The trick is understanding root size and expectations.
Plants that shine in a GreenStalk
I have had the best results with crops that have smaller root systems and relatively compact tops:

- Leafy greens and lettuces
- Spinach and Asian greens
- Radishes and baby beets
- Green onions
- Strawberries
- Many herbs
These fill the pockets nicely without getting angry about the limited depth. Aggressive herbs such as mint, oregano, and lemon balm can also do well, but I treat them differently. I assume they will eventually take over an entire tier, not just one pocket. That is not a problem if you really love that herb, just something to plan for.
Plants that can work, with realistic expectations
I have also grown:

- Bush green beans
- Compact peppers
- Small cabbages
- Sweet potatoes and white potatoes
- Small tomatoes
For these, I try to choose:
- Bush or dwarf varieties
- Plants that stay close to two feet tall
- Crops that will not topple the whole tower when they lean
They will never yield as much as the same plant in ground or in a deep raised bed. Roots simply do not have room to explore, and they dry out faster. If you see them as bonus harvests instead of the main crop, you will be much happier.
In general:
- Small top, small root system, happy in a GreenStalk
- Big top, big roots, possible but lower yield and more work
Final thoughts
GreenStalks are not magic towers that fix every gardening problem, but they can be incredibly productive once you understand how they behave. If you get the watering right, choose the right soil, give seedlings a smart start, pick a color that fits your climate, set the tower on a sensible base, feed regularly, and match the right plants to the right pockets, you can absolutely have those overflowing tiers you see in photos.
If you’re looking for even more detailed guidance on growing veggies here in Florida—like when to start seeds, how to manage pests, and what varieties really thrive—don’t forget to check out my ebook! It’s got a chapter for every single vegetable and is packed with everything I’ve learned over the years gardening in Florida.